Implementing Operation Black Mesa's Renderer - Part 4 - Clustered Lighting
Table of Contents
Introduction
Hi! I am Andrew, also known as Sears, and I was an Engine Programmer / Technical Artist at Tripmine Studios. I will be discussing and showcasing some of the new features I have been adding to the project over the past 4 years or so, as well as the struggles and benefits to implementing these features.
All performance metrics shown in this article are not indicative of final performance of the game, as the game is still WIP.
Why?
While deferred lighting has proved its worth in providing us with sufficient dynamic lighting for the purposes of this game, it has a few glaring issues:
- Translucency
- Bandwidth pressure by sampling the G-Buffer multiple times on overlapping lights
- Support for exotic materials that cannot be expressed by the limited parameters present on the G-Buffer
These issues crop up on the development process of authoring materials once in a while on the game and i realized that if we supported ligting on the forward shader, we can solve some of these issues listed above.
However, rendering lights using multipass forward rendering is a no-go especially if you have multiple overlapping lights.
Clustered Forward Lighting
Clustered Lighting. Source: http://www.aortiz.me/2018/12/21/CG.html
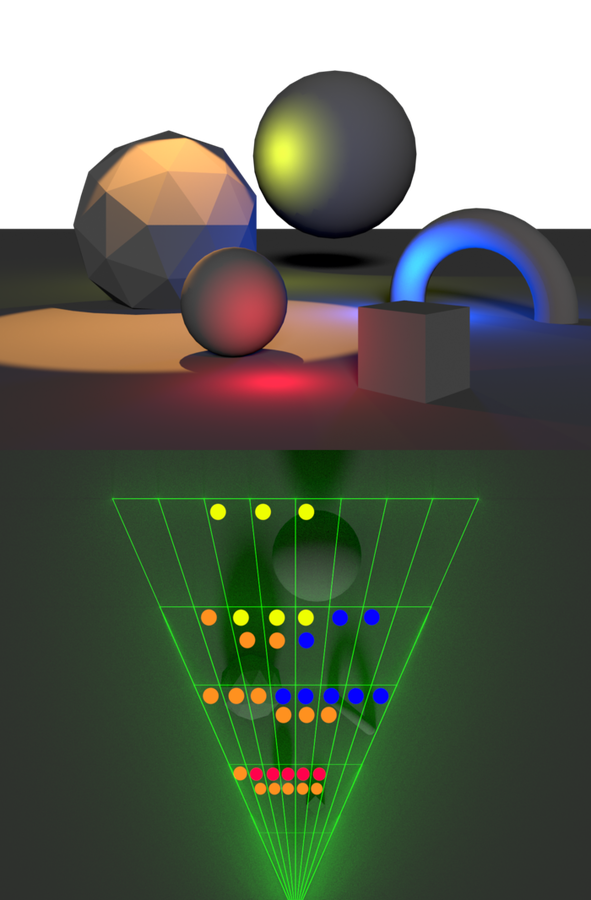
What is Clustered actually? it is the act of grouping pixels on the screen into clusters. A Cluster can have many purposes, but one idea is that each cluster has its own light set. meaning, a light affecting a cluster can affect its neighboring clusters… or not. That means that a light may have one or more clusters that it resides in, and only the pixels inside that cluster will render the light.
Clustered is an extension of Tiled Rendering, and is used on a lot of modern game engines, including Doom 2016.
To learn more about clustered, visit here.
Implementing clustered takes a bit of preparation but i already did the homework when i did the deferred lighting system. All i need to do is to use the clustered system as a backend instead of the proxy mesh deferred to render the lights.
Getting started with the implementation, i first chose a good cluster layout for the game. I went with 16x9x128 clusters. this is mapped by the screen position of each cluster at its top-left corner.
A dedicated shader is used to create the cluster structure that we are gonna use to cull the lights on the succeeding processes. This shader is only ran when some view parameters change, like the FOV, width, height. camera position wont re-generate this structure since the cluster culling is done in view-space.
Before the list of lights to be culled using the clusters are uploaded to the GPU, it is tested against coarser view factors first like
- View Frustum intersection
- PVS.
This is done to reduce the light set to improve shader performance.
Multiple culling types (AABB x AABB / Sphere x AABB) are supported on the cull shader, but for simplicity, the Sphere x AABB is mainly used.
The following pseudocode describes the culling shader’s job on determining which lights affect each cluster.
    for each cluster in clusters:
        aabb = GetClusterInfo(cluster);
        for each light in lights:
            lightposradius = GetLightInfo(light)
            if(Intersects(lightposradius, aabb))
                lightCount[cluster]++
                lightIndices.add(light)

        lightOffset += lightCount[cluster];
lightIndices is a list of all the light indices that affects all clusters in a single buffer. Each cluster will have a dynamic cluster offset lightOffset (depending on how many lights affect each clusters), that it uses to index where its light list are on the lightIndices list.
and then when rendering the lighting:
    for each pixel:
        clusterID, lightCount, lightOffset = GetClusterID(worldPosition)
        lighting += DoClusteredLightingPBR(clusterID, lightCount, lightOffset) // depending on how many lights affect this cluster
Then when rendering happens, we can just look up the lights by
lightOffset + i, with i iterating up to lightCount, depending on how many lights there are on this cluster.
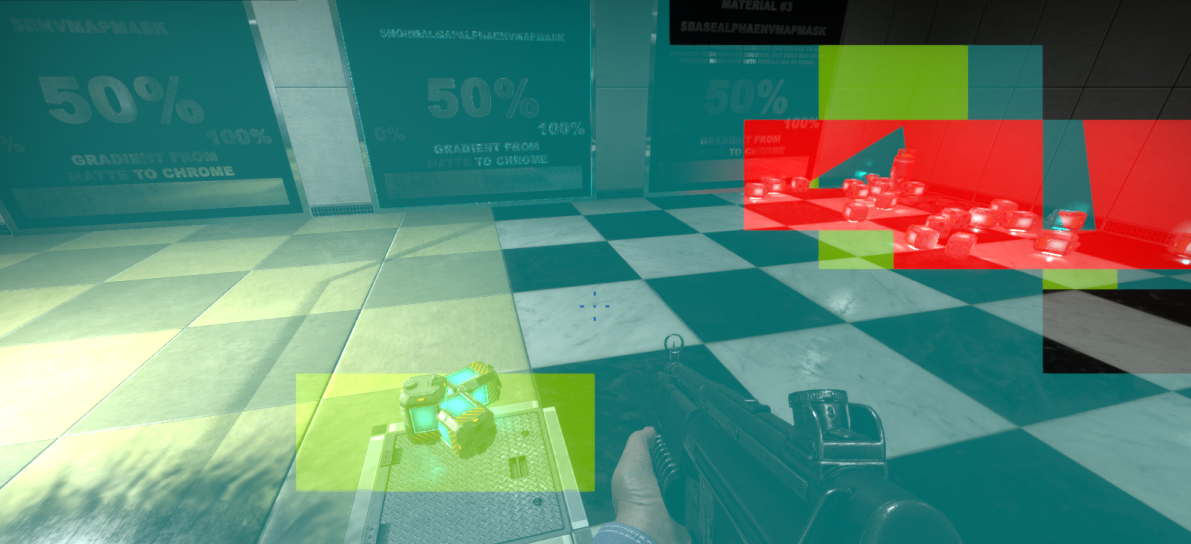
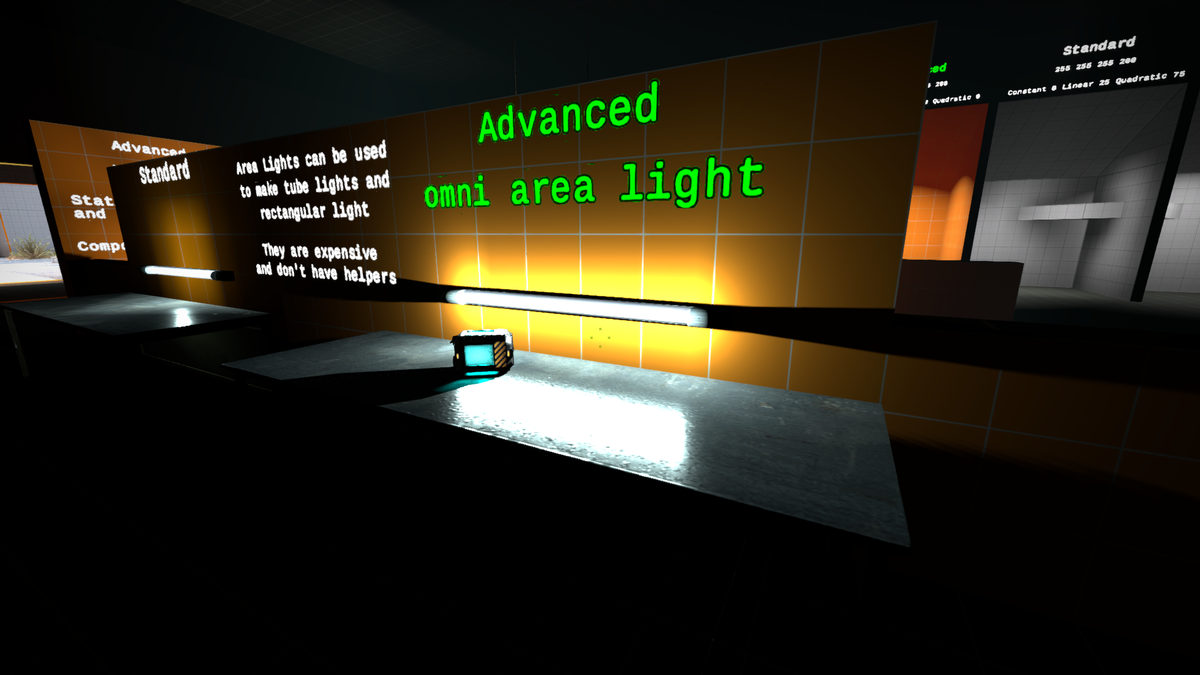
A debug view above shows the cluster saturation of each cluster. Blue tinted clusters have more than 0 lights affecting them, Green clusters have more than 3 lights, and red clusters have more than 5. This is a useful debugging tool to determine cluster performance.
Since clustered rendering only replaces the backend of the lighting system, No visual improvements are noted, however fixes to translucent lighting is achieved because the lighting doesnt rely on a G-Buffer anymore.
Clustered Deferred Lighting
While Clustered Forward Lighting has its advantages, it has its disadvantages too, notably Quad Overshading, this is a silent performance killer on pixel shading where it shades more pixels than necessary because of the inherent capability of GPUs to shade triangles in blocks of 2x2 pixels. More information about Quad Overshading is available here.
Because of that, I also implemented Clustered Deferred Lighting. This is a hybrid solution where the exotic materials and translucent materials are rendered in forward+ as normal, but everything else (all simple materials) are rendered on Clustered Deferred Lighting on a single Full-Screen pass. This solves both the problems regarding deferred and forward and is a good compromise.
Volumetric Lighting Support
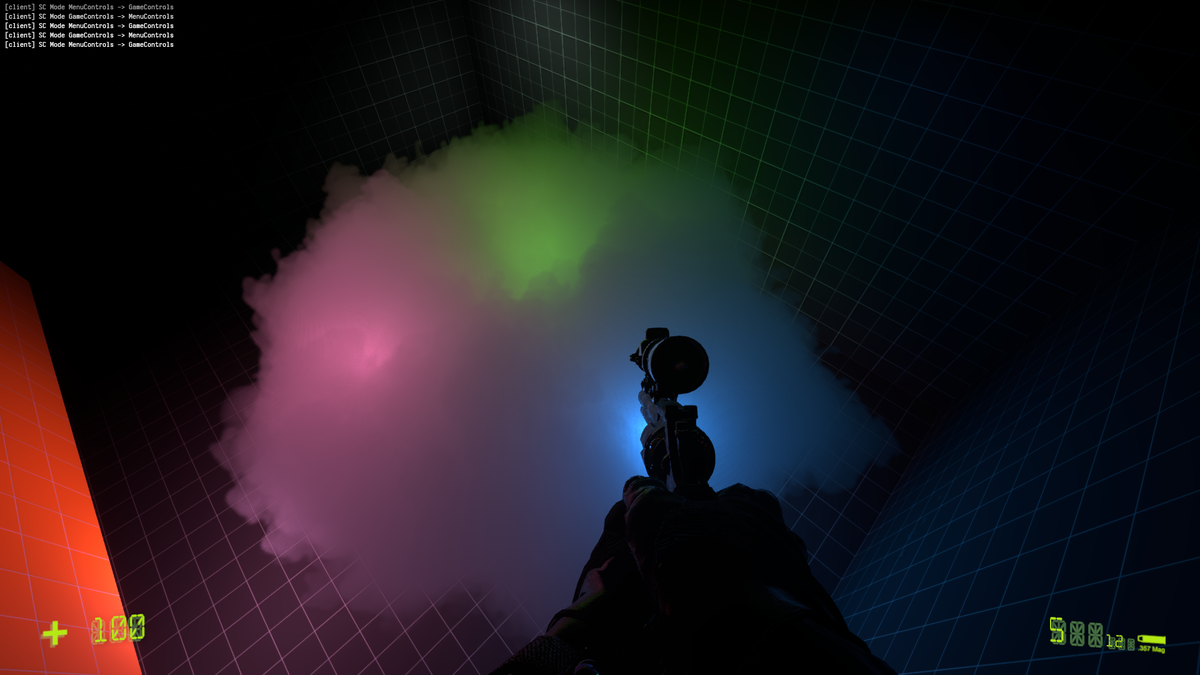
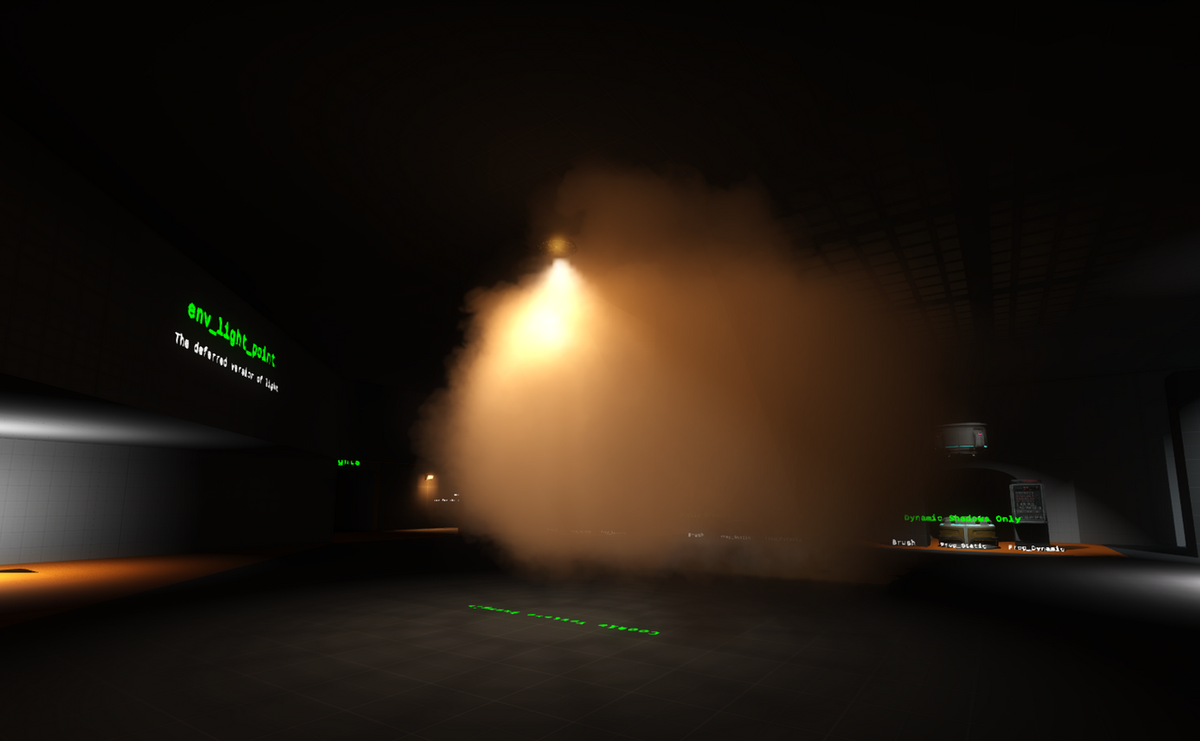
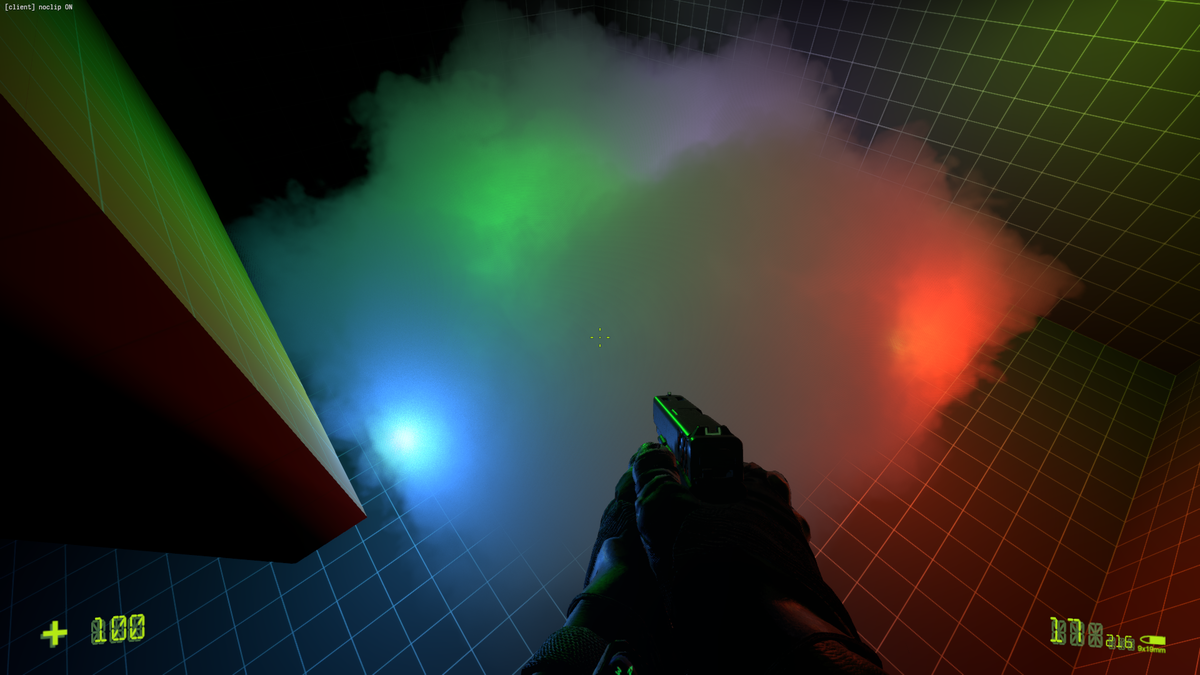
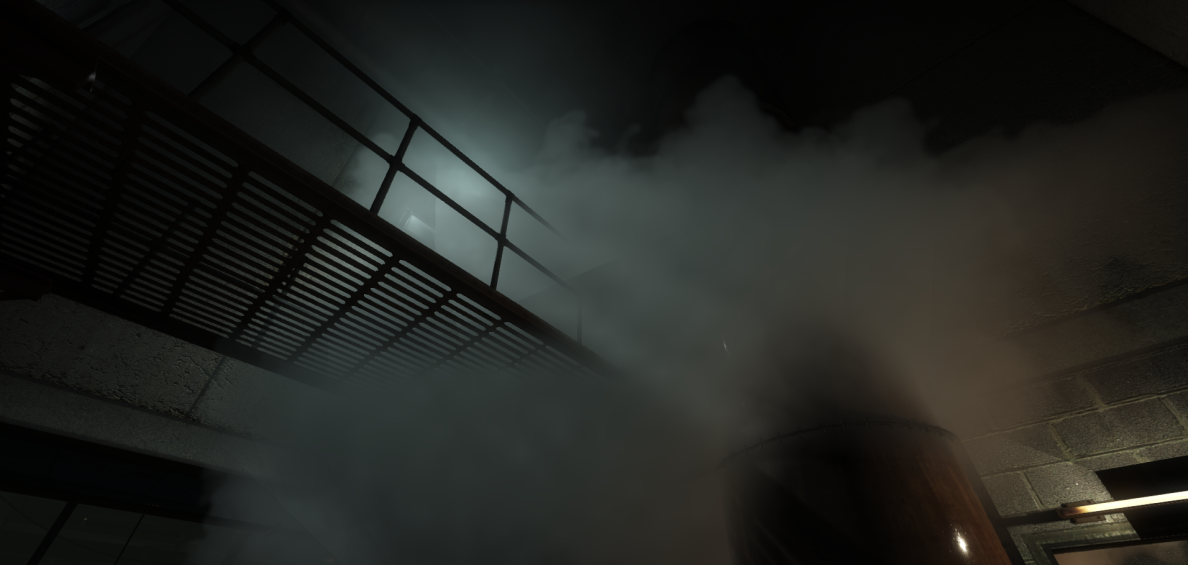
Since D3D11 supports compute shaders, I have now ported the froxel pseudo 3D texture solution into an actual 3D texture that compute shaders write into radiance of the lighting on that particular point in 3D space. Raymarching the volumes are as normal except the texture sampling is simpler since we now have native support for 3D textures.
Writing radiance into the 3D texture is almost the same as calling the surface shader equivalent:
lighting += DoClusteredLightingVolumetric(clusterID, lightCount, lightOffset)
The only difference is that DoClusteredLightingVolumetric only supports point shadowmapping filtering and some cheaper math for performance (only attenuation and shadow factor for lighting).
Shadow Mapping Improvements
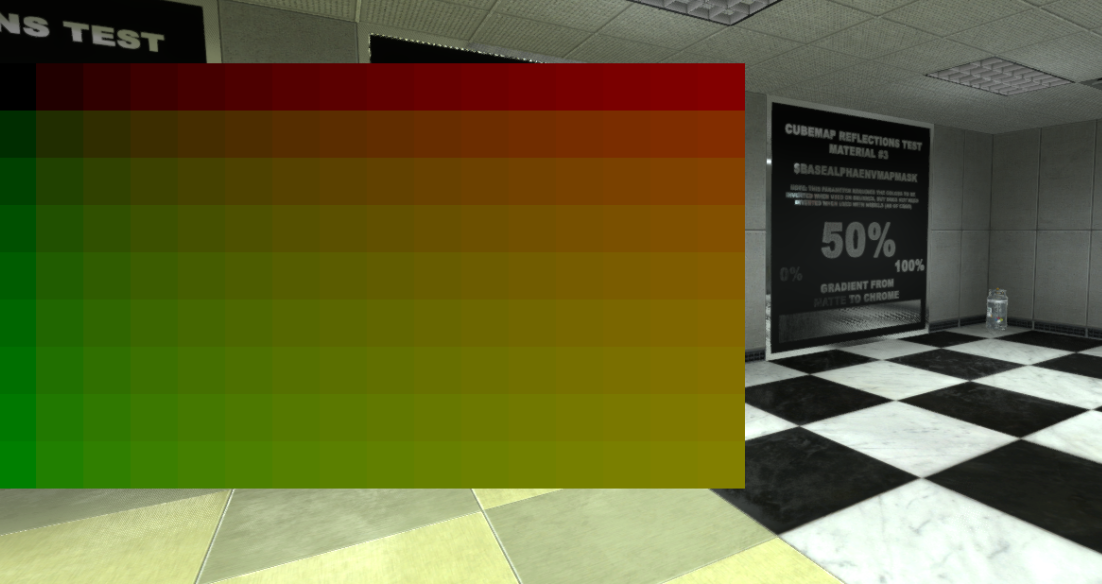
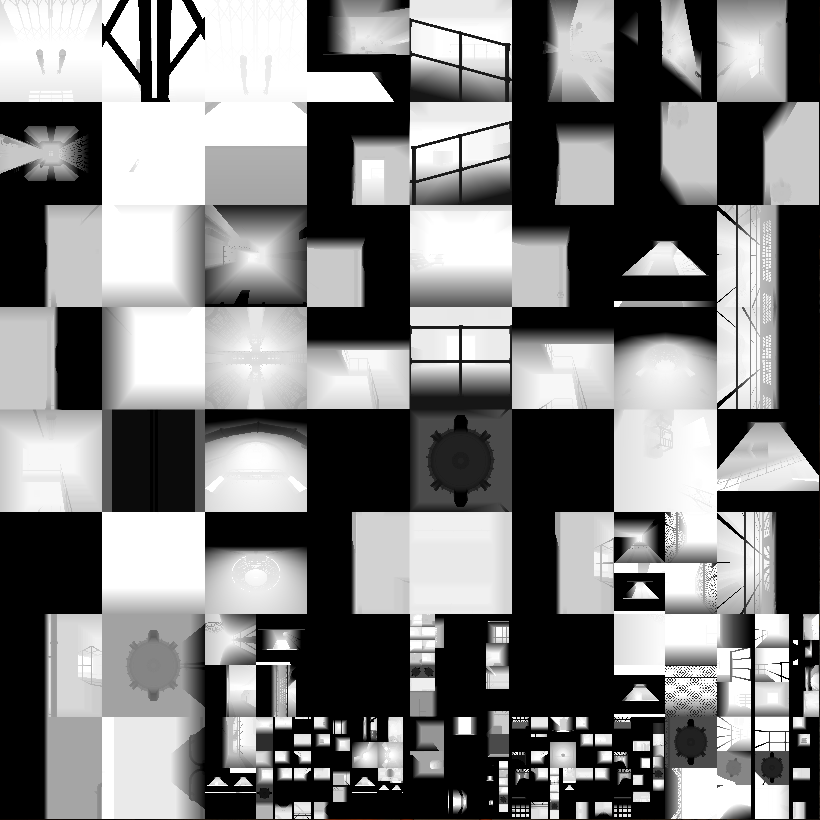
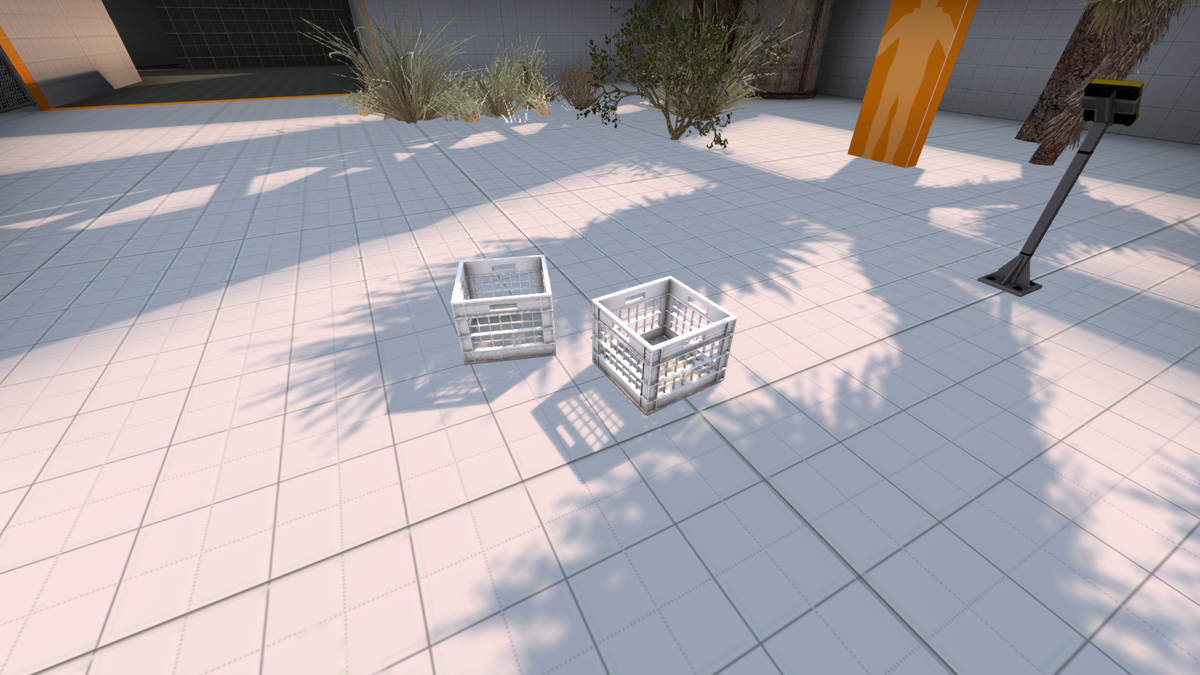
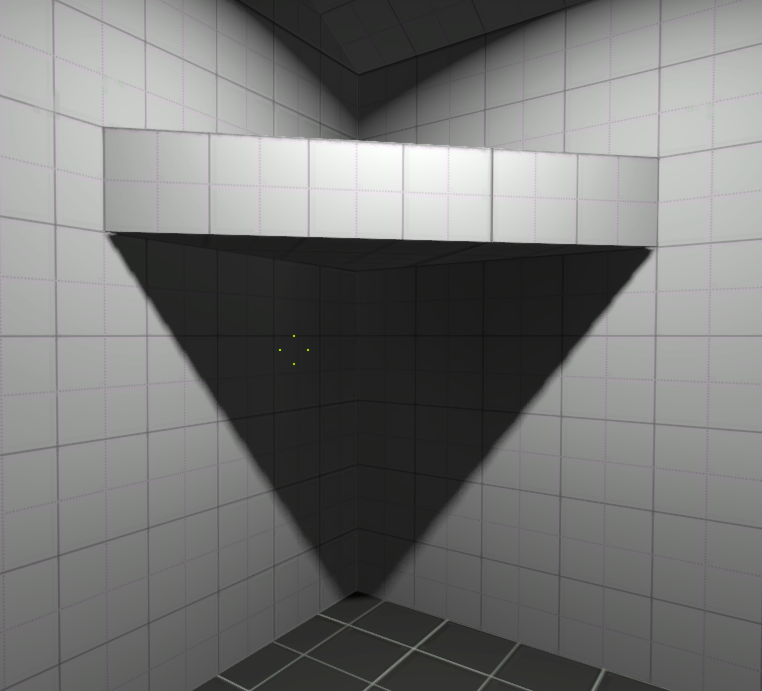
Debugging shadows on D3D11 is easier than on D3D9 since the shadow maps are visible using debug views in-game. This has allowed me to improve upon the existing system to allow Level of Detail shadows. On the picture above, you can see the different levels of detail of shadowmaps that are used. The Level of Detail is simply determined by the distance of the outer radius of the light to the camera, and other factors like the PVS and Frustum Intersection tests, for dynamic moving shadows.
Composited Shadows
To optimize the large amount of dynamic shadows present on the game, I implemented mixed cache shadowing. This is similar to the static cache feature i implemented on AGS-Renegade, however this is more dynamic.
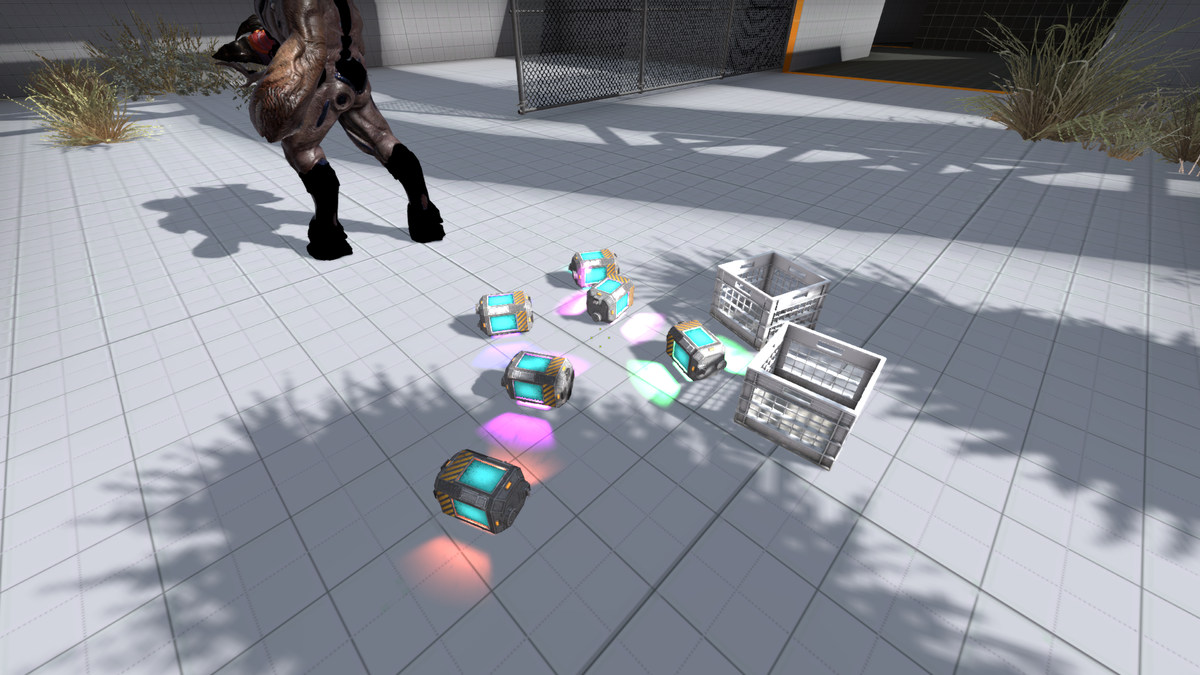
For indoor lights, the designer can choose between 3 modes of shadows. Static only, Static + Dynamic Composited, or Dynamic Only. Static only renders shadows only for static objects once when the light is initialized, Static Composited does the static cache, but also renders a dynamic shadow on top for moving objects. This is recommended for non-moving lights that want a moving shadow. Dynamic only shadows are for lights that move, like the player flashlight, where everything needs to be updated per-frame.
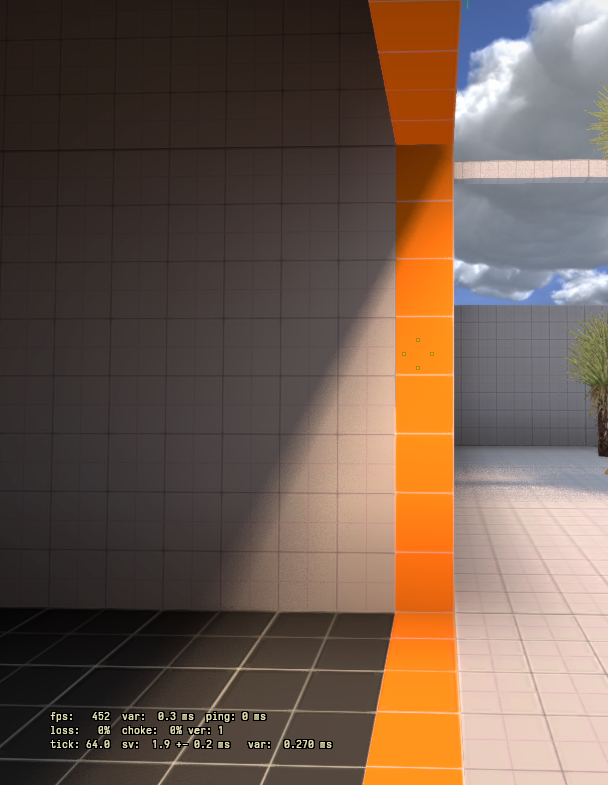
For Sun shadows the same applies although this is more fixed, as the sun static shadows render on its own shadowmap. For OBM we do not expect much sun movement across the sky on the same map.
These optimization improvements allow us to have a very low shadow budget of only 6 local light shadowmap views per frame, 4 CSM shadow map views per frame, including the viewmodel shadowing. Since a very small set of all shadowed lights really need the dynamic updating of the shadow map anyway, for that to happen, the light must be near, and the designer must select either the Composited Mode or the Dynamic Mode.
Experimental PCSS
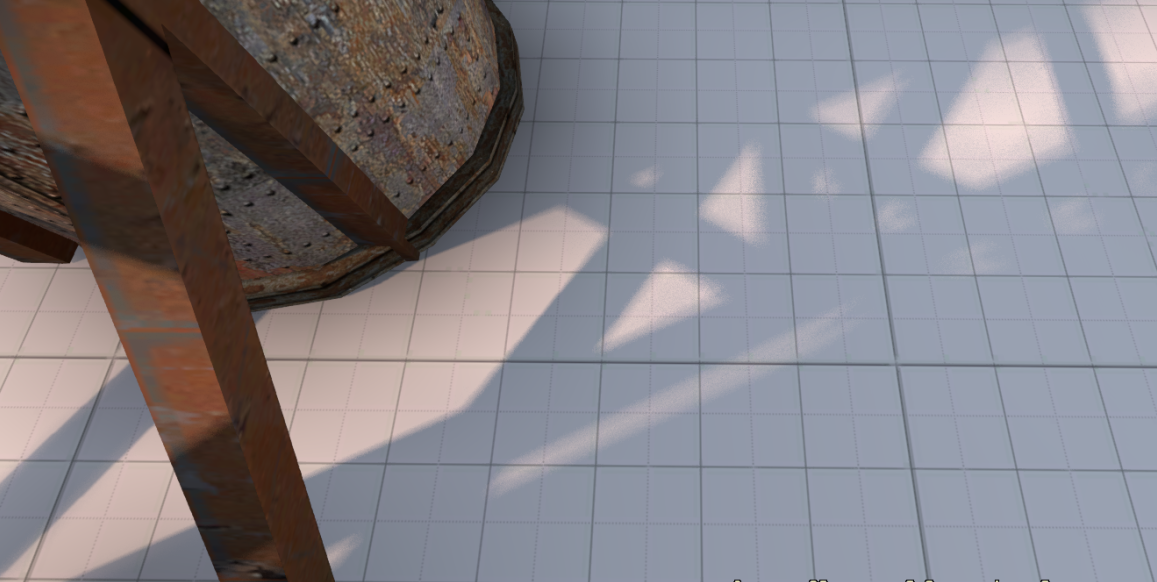
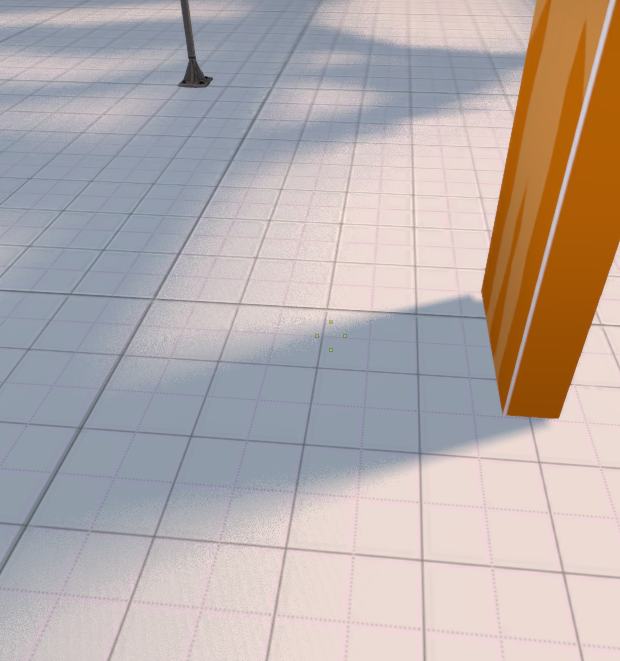
To simulate penumbra, since D3D11’s depth is now easily accessible by shaders, PCSS is easier than D3D9. This feature is experimental.
Ending Thoughts
The Clustered System provides the lighting system with flexible tools to render lighting on a single unified pipeline on either translucent and opaque surfaces. It also allows a single backend for volumetric, raymarched lighting and can be extended to support Image-Based Lighting (Cubemaps) and Decals aswell.
