Implementing Operation Black Mesa's Renderer - Part 3 - Porting to D3D11
Table of Contents

Introduction
Hi! I am Andrew, also known as Sears, and I was an Engine Programmer / Technical Artist at Tripmine Studios. I will be discussing and showcasing some of the new features I have been adding to the project over the past 4 years or so, as well as the struggles and benefits to implementing these features. If you already read the last part, you might have known already that working on D3D9 is a pain in the ass and limits the creative and performance options that we can have if we are using a newer Graphics API. and so, with inspiration, about 2 years ago I started porting the engine in its entirety to DirectX 11.
All performance metrics shown in this article are not indicative of final performance of the game, as the game is still WIP.
Porting to D3D11
One of the biggest, but most subtle changes I have made to Operation: Black Mesa is the DirectX backend; Source Engine typically runs on DirectX 9; while it worked for the time, nowadays, modern runtime applications heavily benefit from later versions of DirectX, so we have Implemented ShaderAPI to target DirectX 11. This upgrade allows us to use a more modern graphics API to implement newer rendering techniques without resorting to hacks.
On top of that, we also re-evaluated our shader system which has changed how we compile shaders. We are now able to reduce static combos on generic shaders by using constant buffers, allowing us to iterate on them faster than we would have on DirectX 9.
This allows us to have a “uber-shader” (a single large shader with various combos to determine the lighting, multitexture, ect) approach to how we render assets on the screen, save for special effects. This has enabled us to have consistent feedback and flexibility on how material parameters work, ensuring that a material parameter applied to a typical model can also be applied to environmental geometry.
Why?
Porting to D3D11 is a monumental task, however there are a couple of very valid reasons why porting it is necessary.
Performance - The techniques employed to render the graphics on D3D9 are suboptimal and rely on a lot of hacks and assumptions. Reimplementing and Porting them to D3D11 will make them use the standard techniques and would be faster.
Cleanup and Compatiblity - Porting to a newer and supported graphics API ensures that most hardware targeted are supported without driver hacks and relying on a lookup table per GPU to assess system capability – you can just ask the driver instead for VRAM capability, driver version, etc.
Debugging - Porting to a newer Graphics API allows the programmer to use off-the-shelf frame capture software/debugging tools/ profilers such as RenderDoc to assess the performance and capability of the application.
New Features - New features like compute shaders, instanced rendering, constant buffers, structured buffers, would allow much more flexibility for the shader backends.
Starting out
I first started out by reading the different D3D11 ports of the engine available to me at the time, which are Strata Source and Quiver. I realized that the main deal of the port is to determine the equivalent types from D3D9 to D3D11.
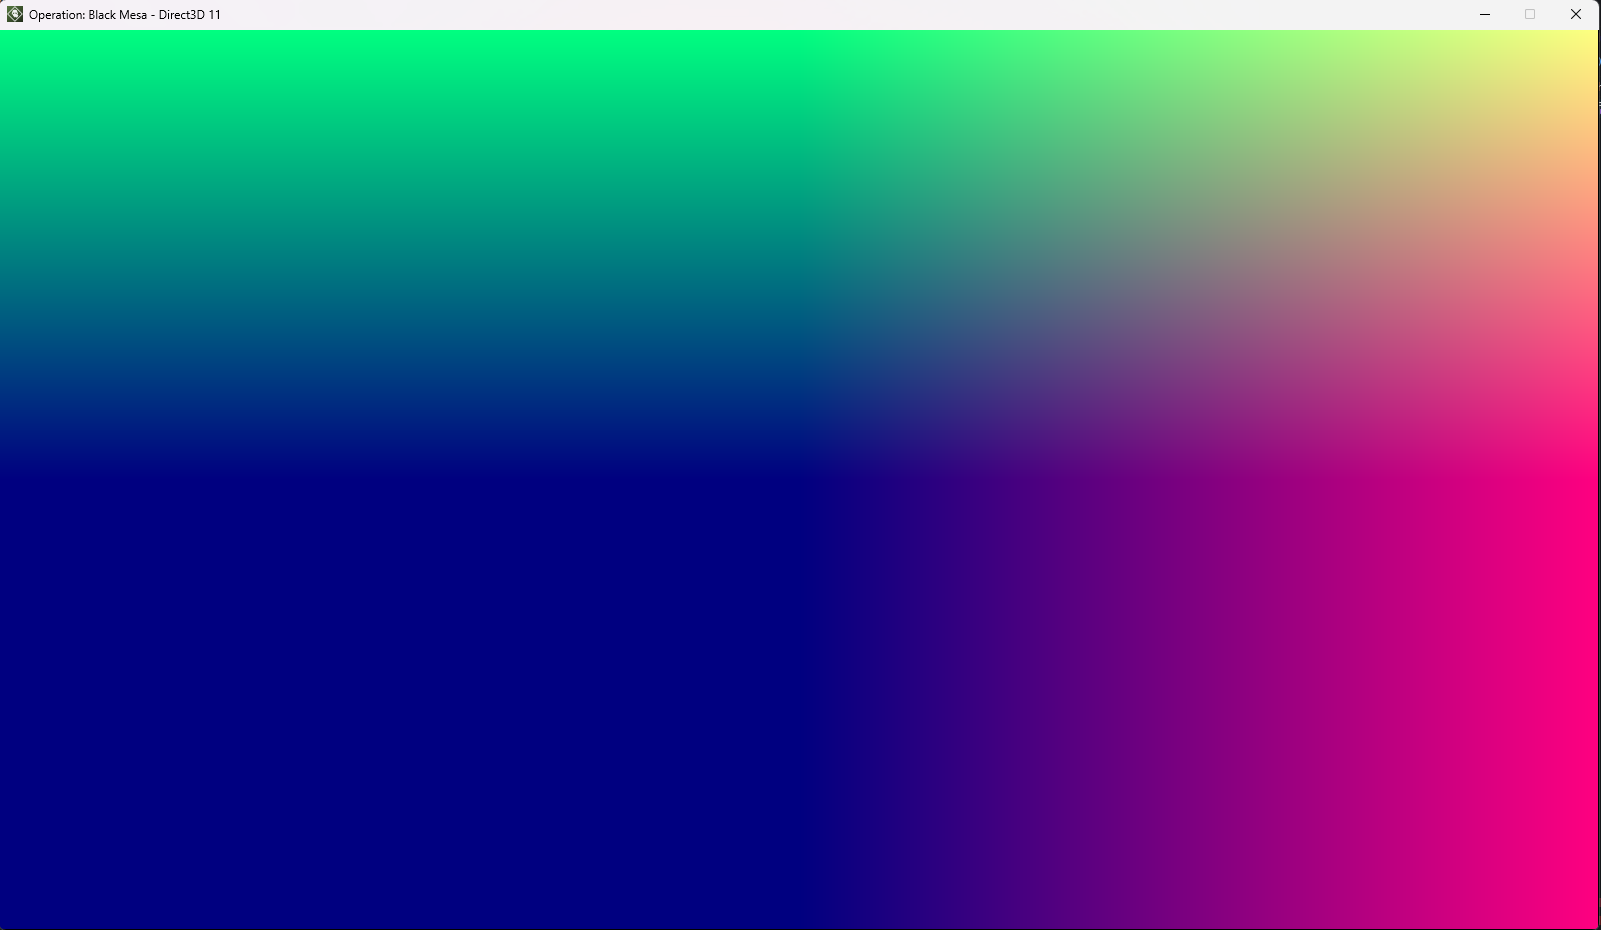
At first i started small, like only managing to render the fullscreen with a debug value (like screenpos, anything) to verify that i successfully initialized the device and are now drawing into the backbuffer (and presenting) that i created.
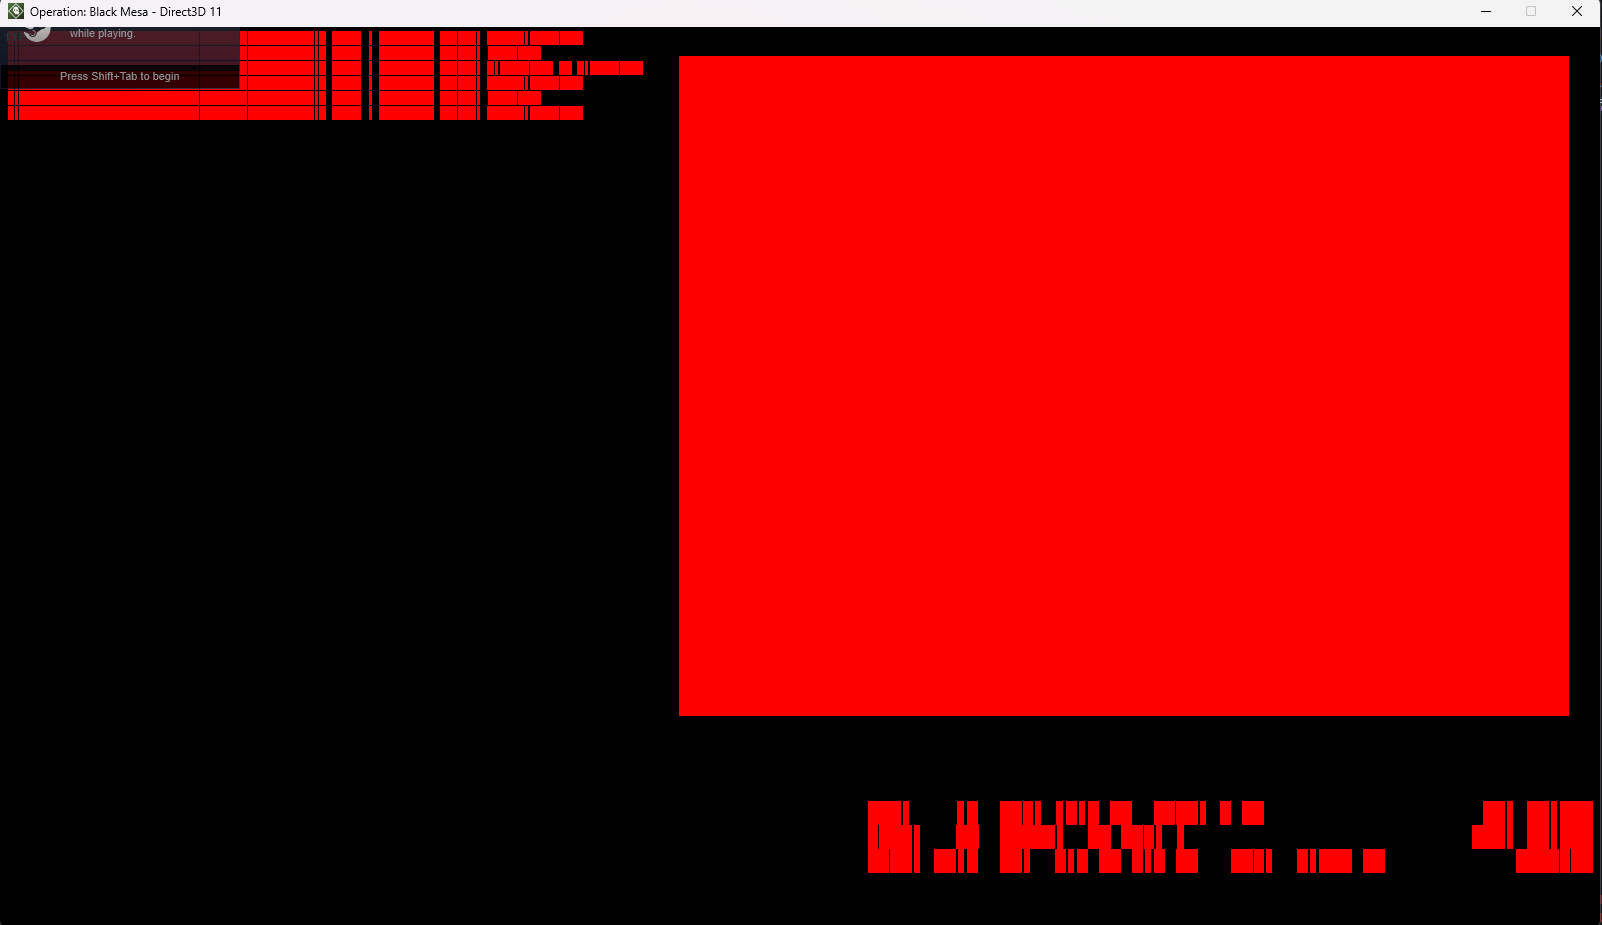
At this point i already ported quite a few mesh-related functions and the screenspace draw function, to finally render something that resembles the VGUI on the screen.
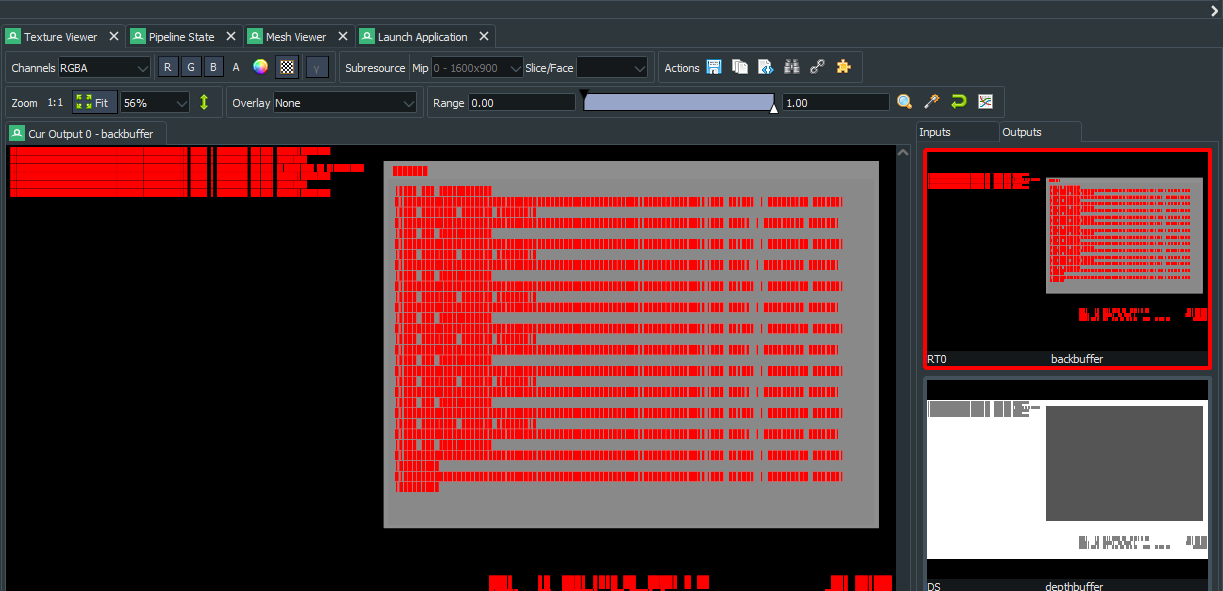
Debugging VGUI rendering on RenderDoc has helped me pinpoint problems on my implementation of the renderer.
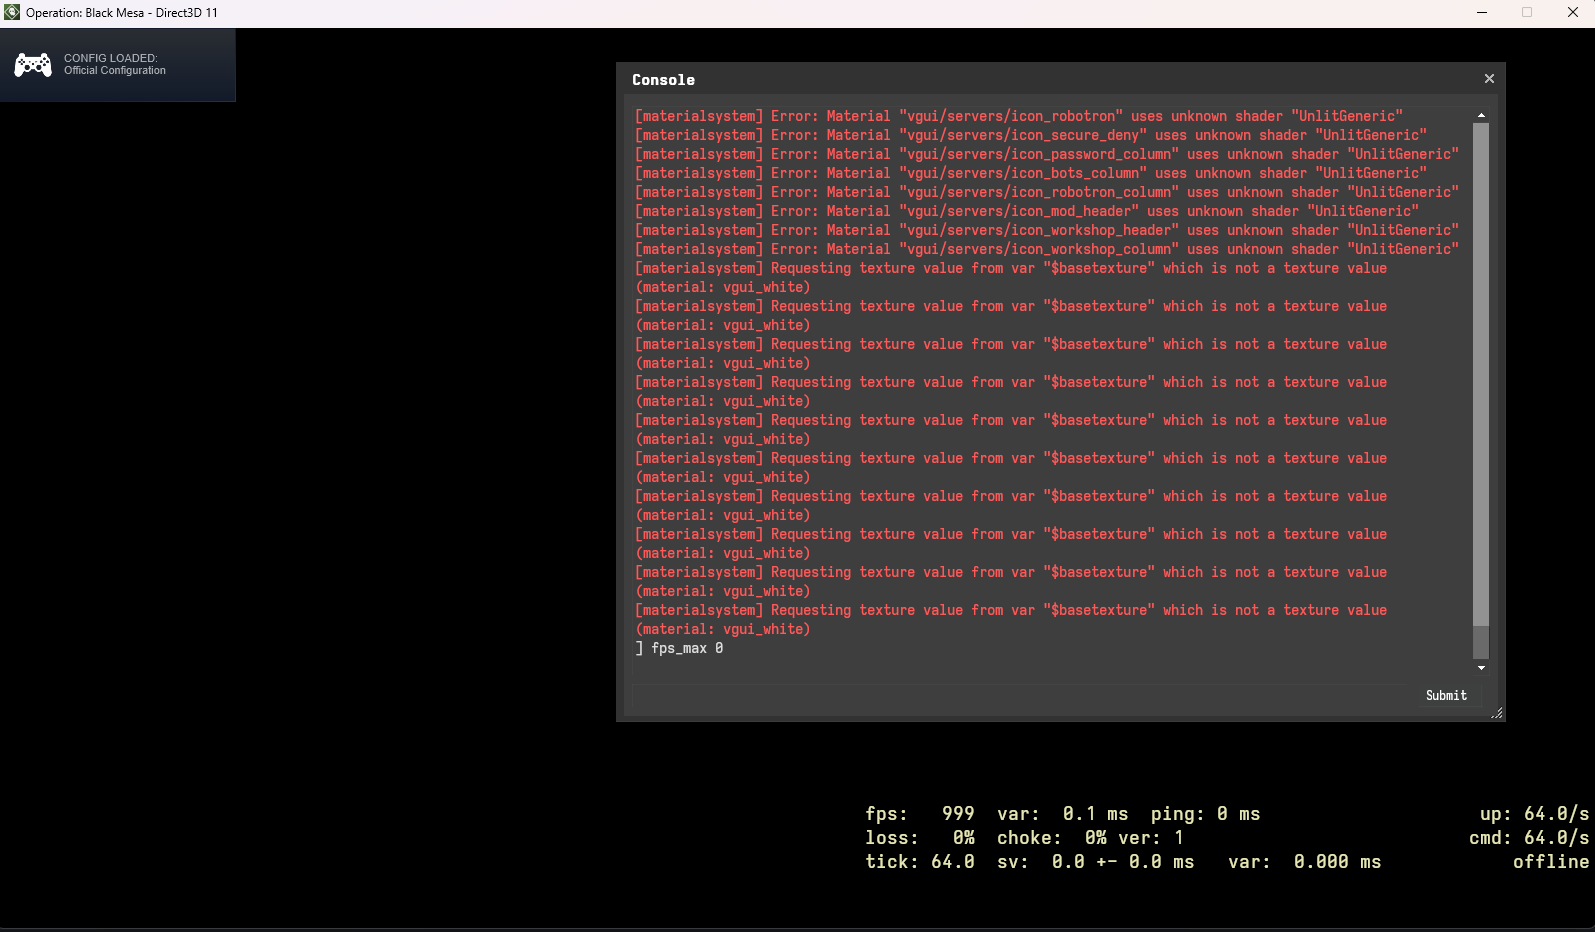
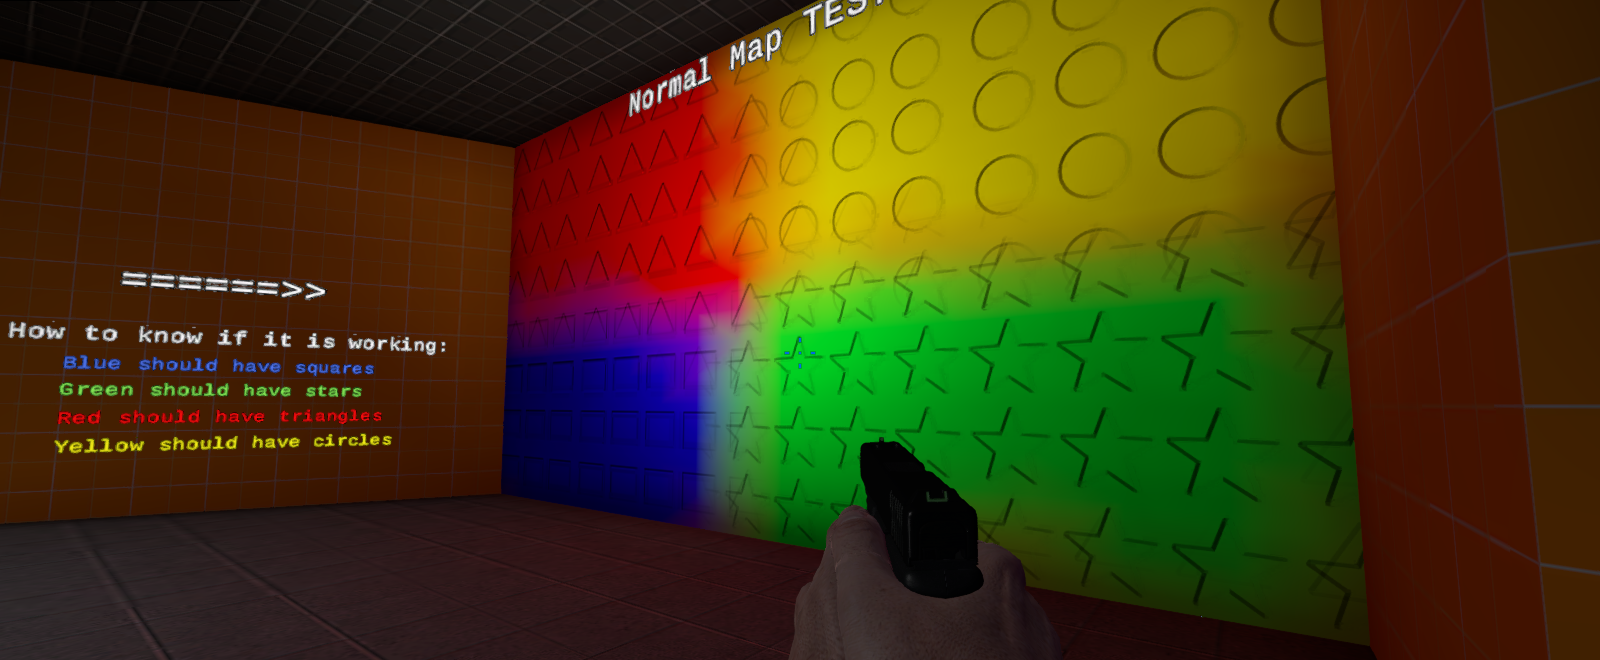
At this point i successfully supported vertex color and alphatest, allowing for the text to have a specific color and the typeface to appear.
Got world rendering working at this point, however only the UnlitGeneric shader is supported, without any alphatest or advanced features.
Got basic lighting support for models, at this point i am starting to get the hang of porting shaders, however doing this is so tedious since Source ships with a lot of shaders.
Shader Porting
The bulk of the work on porting the engine to a new rendering backend is the Shader Porting. Since D3D11 uses Shader Model 5 and the shaders used in this game was written on Shader Model 3, porting them over was necessary (IIRC some compatiblity modes exist but i opted to port them properly). New features on D3D11 include Constant Buffers, and it has made enabled some shader parameters to be expressed using it instead of combos, which resulted on reduced combo count.
Porting Strategy
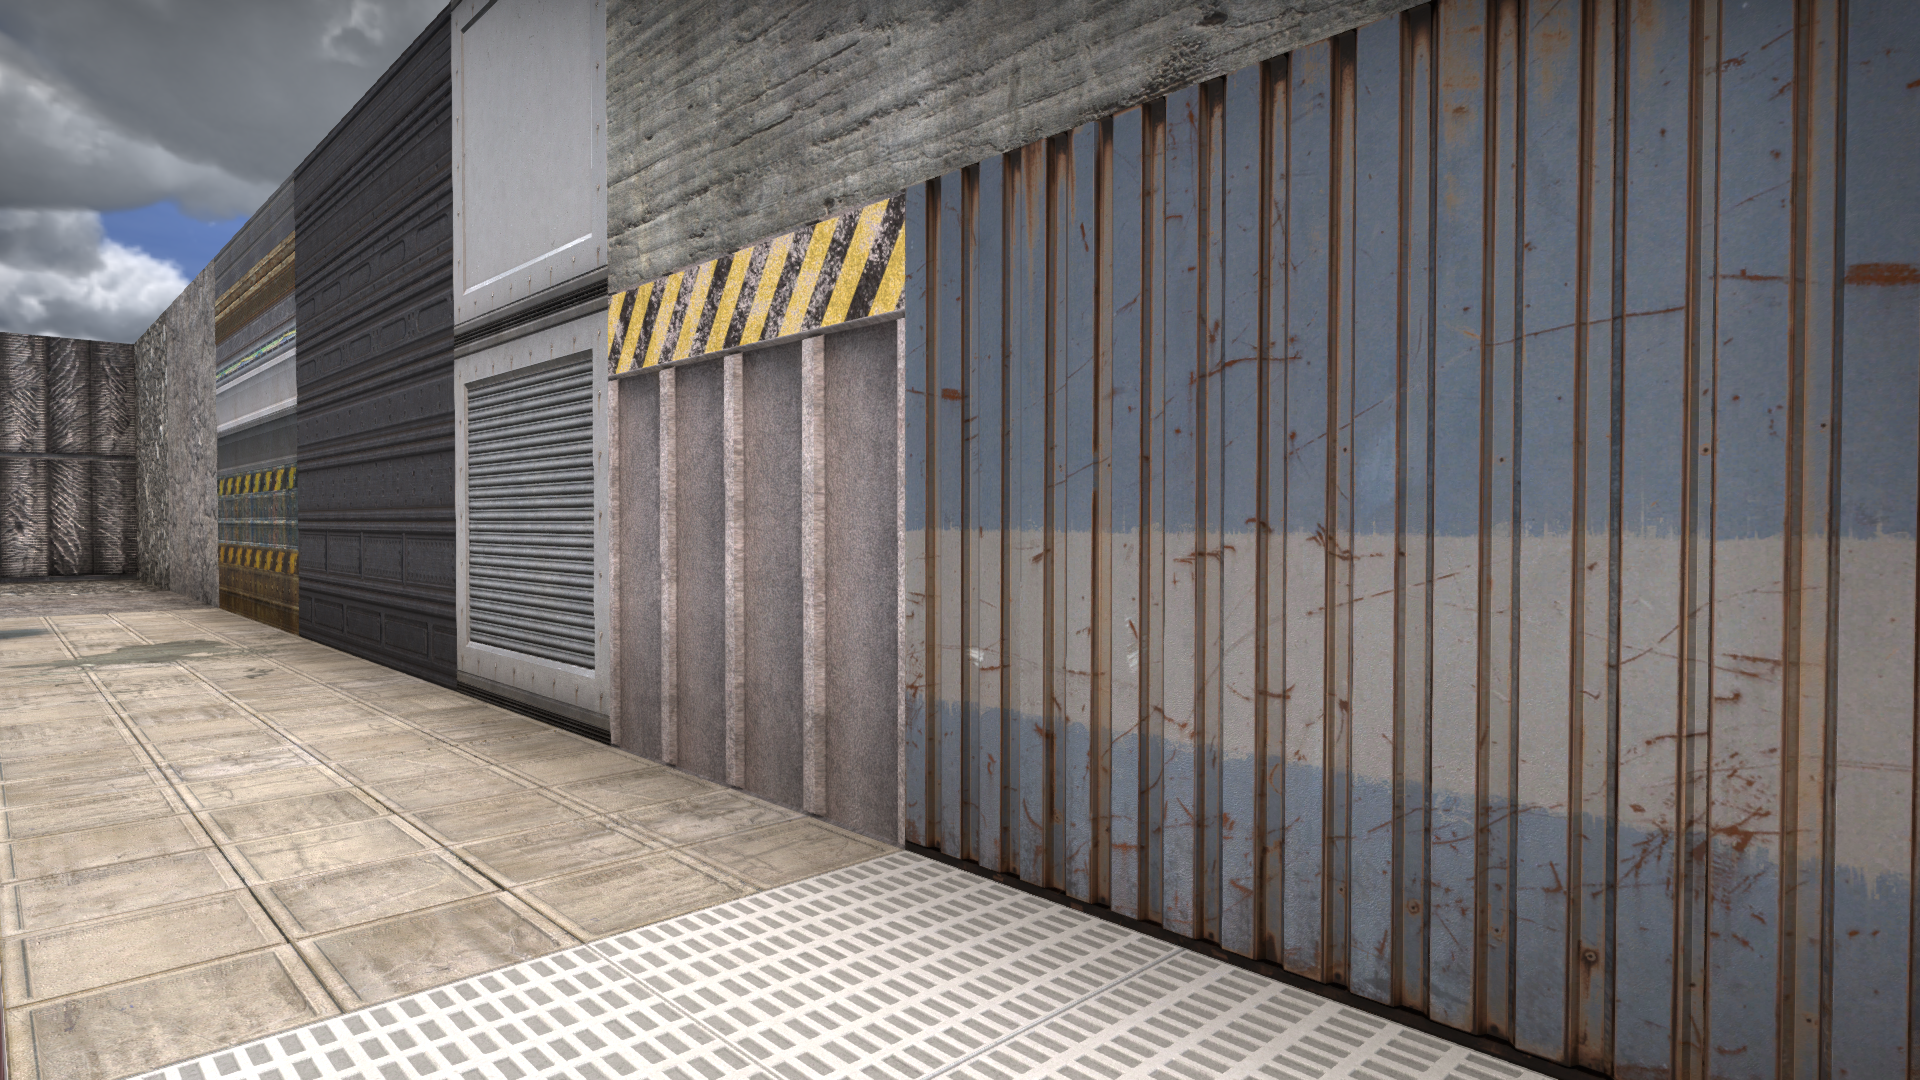
Implemented lightmap lighting, as well as basic 2 way and 4way blend support.
To port all the various surface shaders to the new D3D11 backend, instead of porting them as-is, i ported them into a single uber-shader called PixelLitGeneric. This shader is supposed to take the roles away from all the “Generic” Shaders, like LightmappedGeneric, VertexLitGeneric, and their phong counterparts and other custom shaders present, to a single shader that can handle everything. The general idea behind this is that, we want to reduce the distinctions between the different geometry classes (world, props and dynamic objects) however possible. Implementing a shader that can handle rendering for all of them allows the artist to be sure that a shader parameter that works on a certain geometry class works for others. This also allows for a model for example, to have a 4WayBlend shader, or a 4WayBlend parallax occlusion blending, lightmapping, and other combinations of shader parameters that we currently support. Allowing a single shader to handle most of the rendering also ensures parameter’s consistency across geometry classes, rendering scenarios, and other edge cases.
PixelLitGeneric?
As described above, instead of implementing all the D3D9 shaders as-is, i instead streamlined the material creation process by creating PixelLitGeneric. I added a variety of switches and logic for the master shader ( PixelLitGeneric ) to support a variety of lighting contexts ( unlit, diffuse, specular, etc ), this enables the shader to be used on almost all renderables on the game engine, keeping code maintenance to a minimum instead of maintaining each lighting scenario on a separate file.
At first, pixellitgeneric is just a fallback shader for shader features i havent implemented yet on D3D11, but as time goes on, instead of creating a dedicated shader for it, i just improved PixelLitGeneric to support such effects.
Texture-Sampler Separation
D3D11 supports up to 128 Textures, but it only supports 16 Samplers. Textures and Samplers are bound together on D3D9, therefore we need a new system to have a one-to-many relationship between Samplers and Textures, to support more Textures.
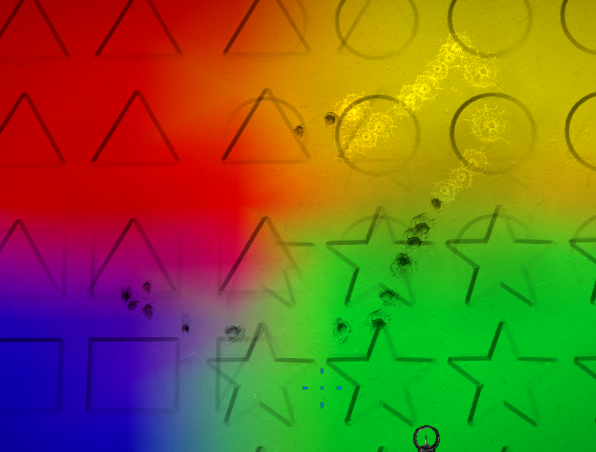
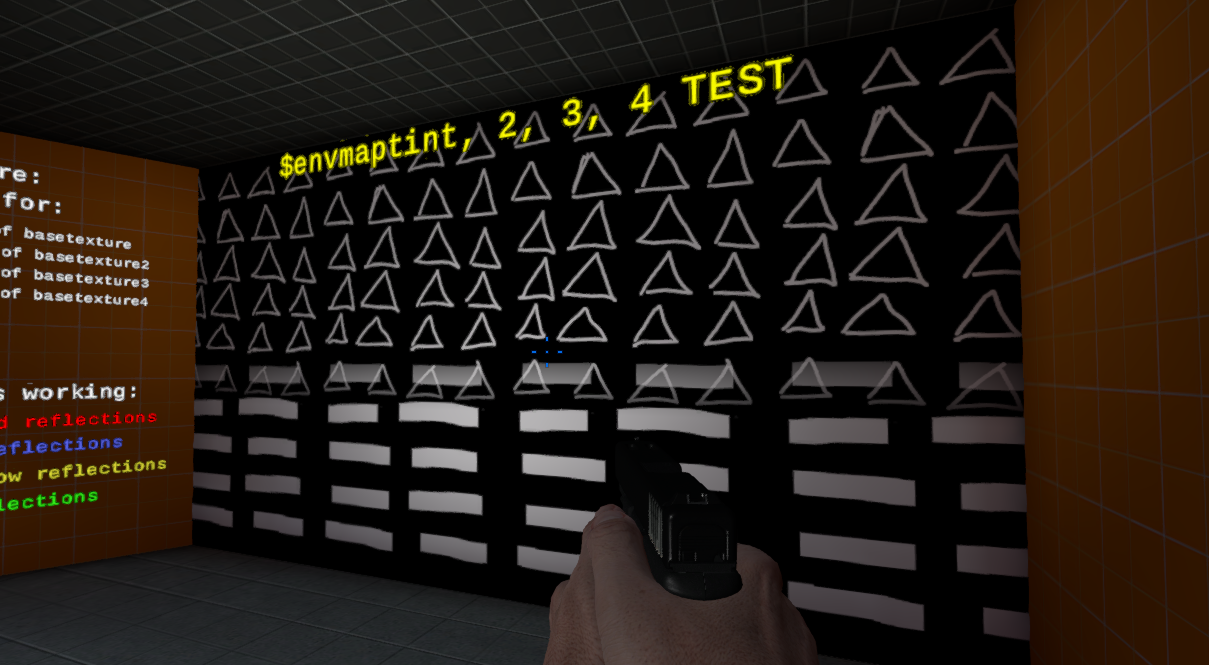
The way i approached this problem is to have all same-kind textures use the same sampler. For normal rendering this wont have any effect, but on blended textures they do have an effect. For example, the sampler used for $basetexture will be the sampler used for $basetexture2, $basetexture3, and $basetexture4.
I also implemented basic standard samplers S10-S15 for generic samplers like linear, shadowmap, lightmap-specific sampler that is always defined on all shaders.
This way, we have a streamlined approach on textures and which samplers to use for each, and we can scale how many textures can we use per renderable. This number has been raised to 128 textures.
Depth Passes
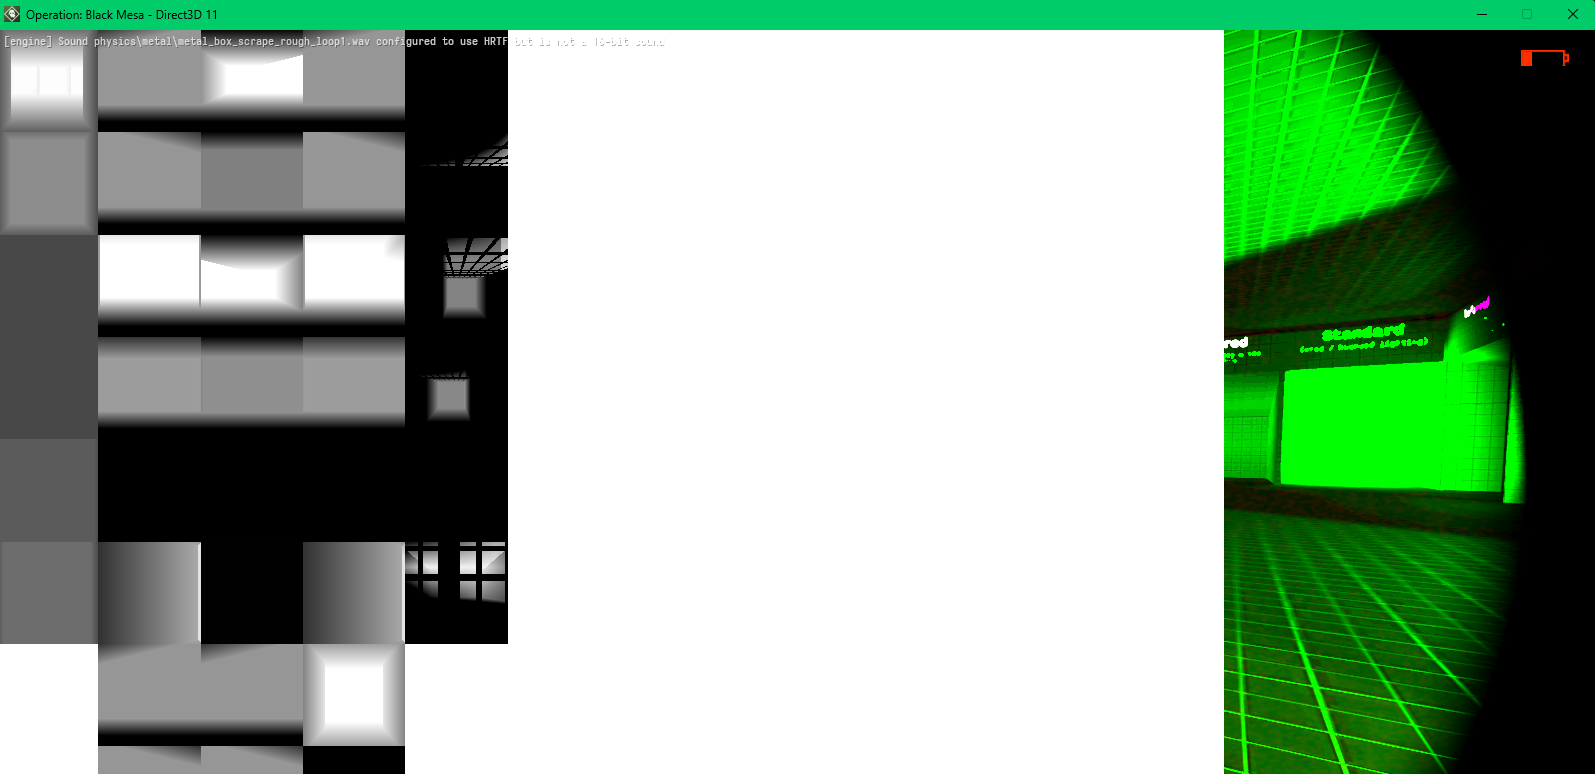
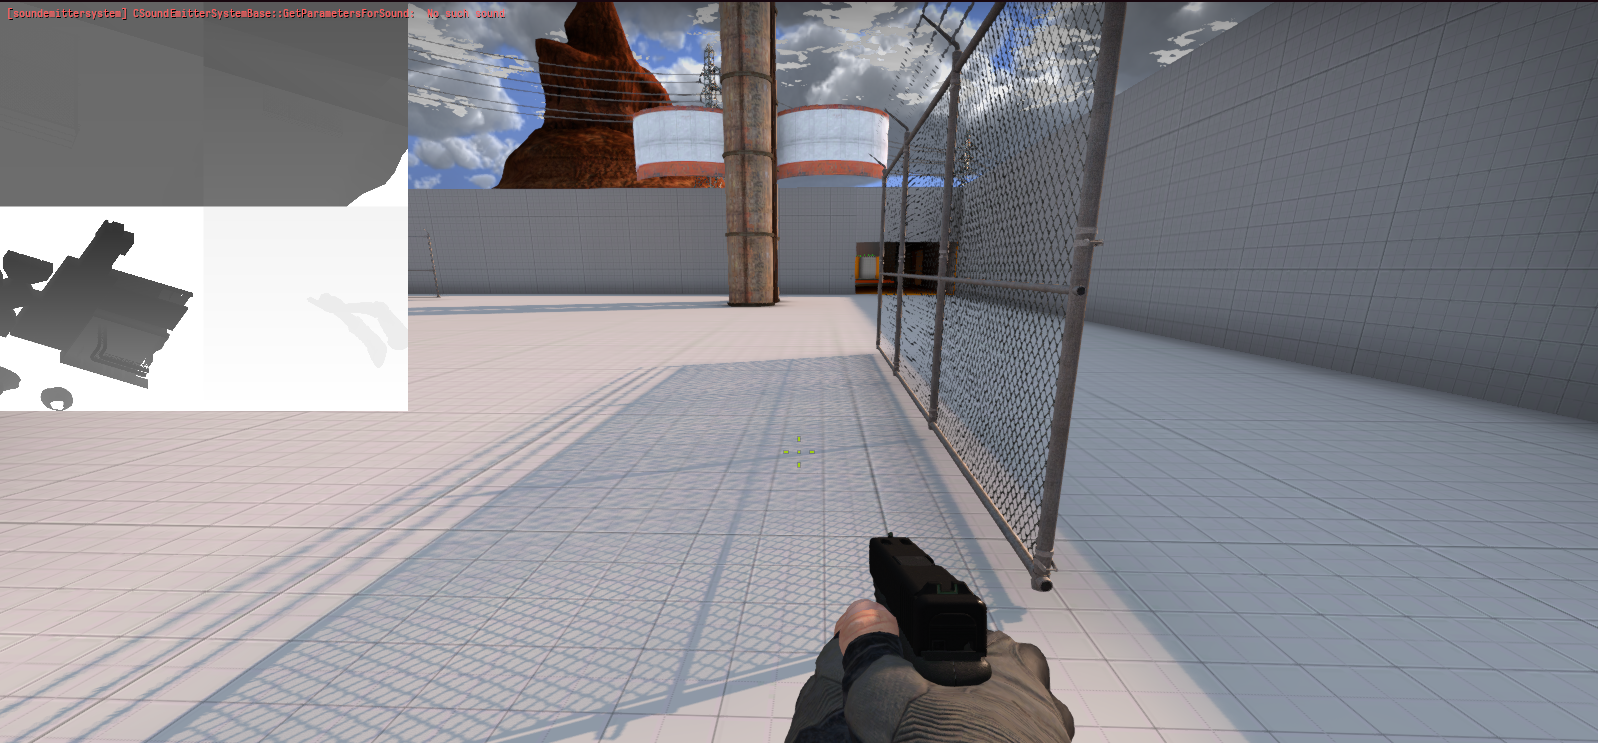
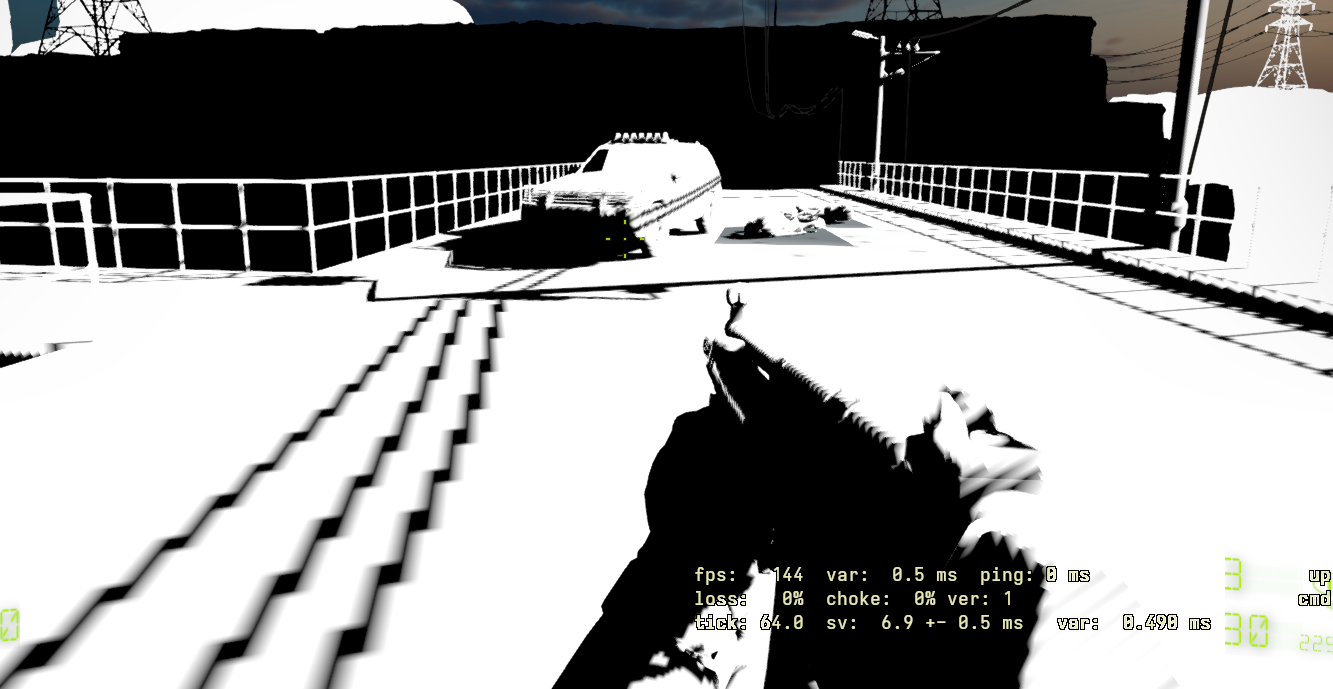
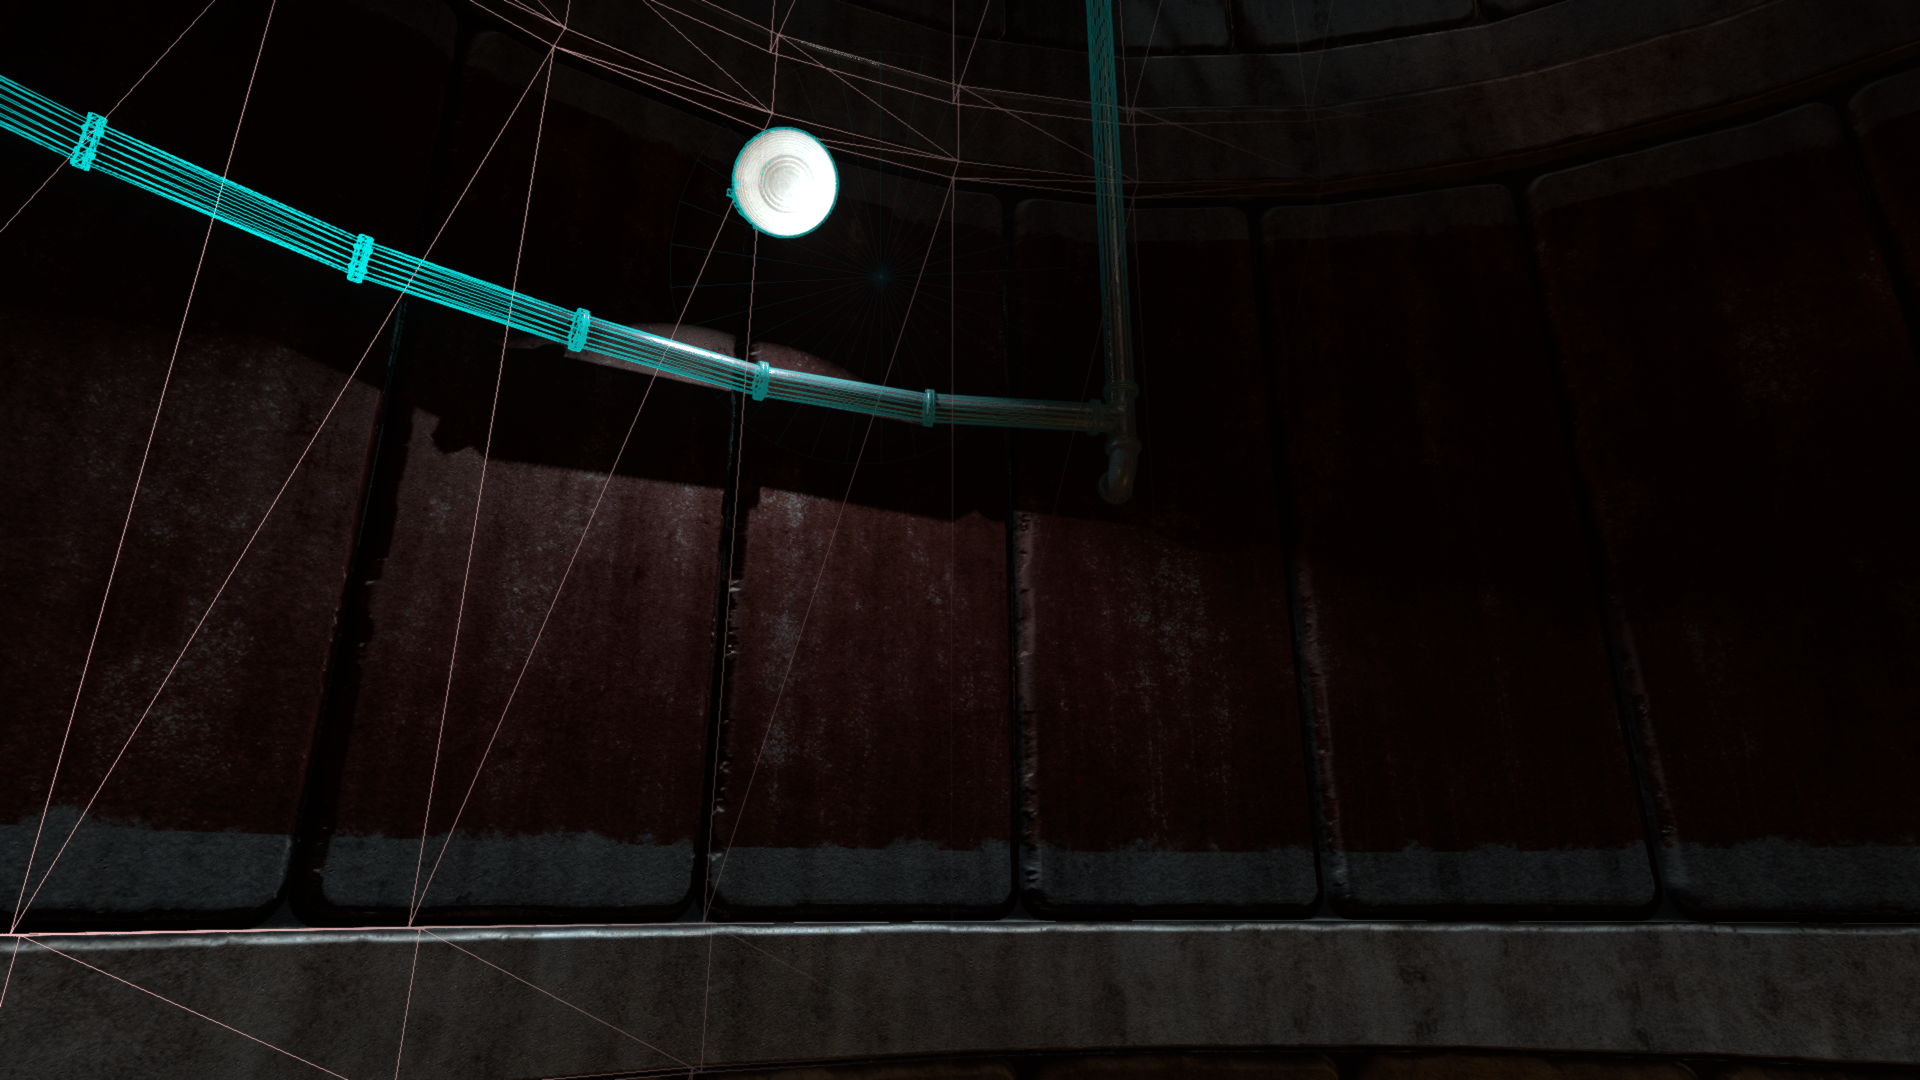
Ported CSM and local light shadows support, however at this point the deferred system isnt ported yet. It is interesting to see on a debug view the shadowmaps though. On D3D9, since the shadow maps use a special depth format, you are unable to view this texture on a debug view as color map. On D3D11 it is possible.
Post Process and Deferred
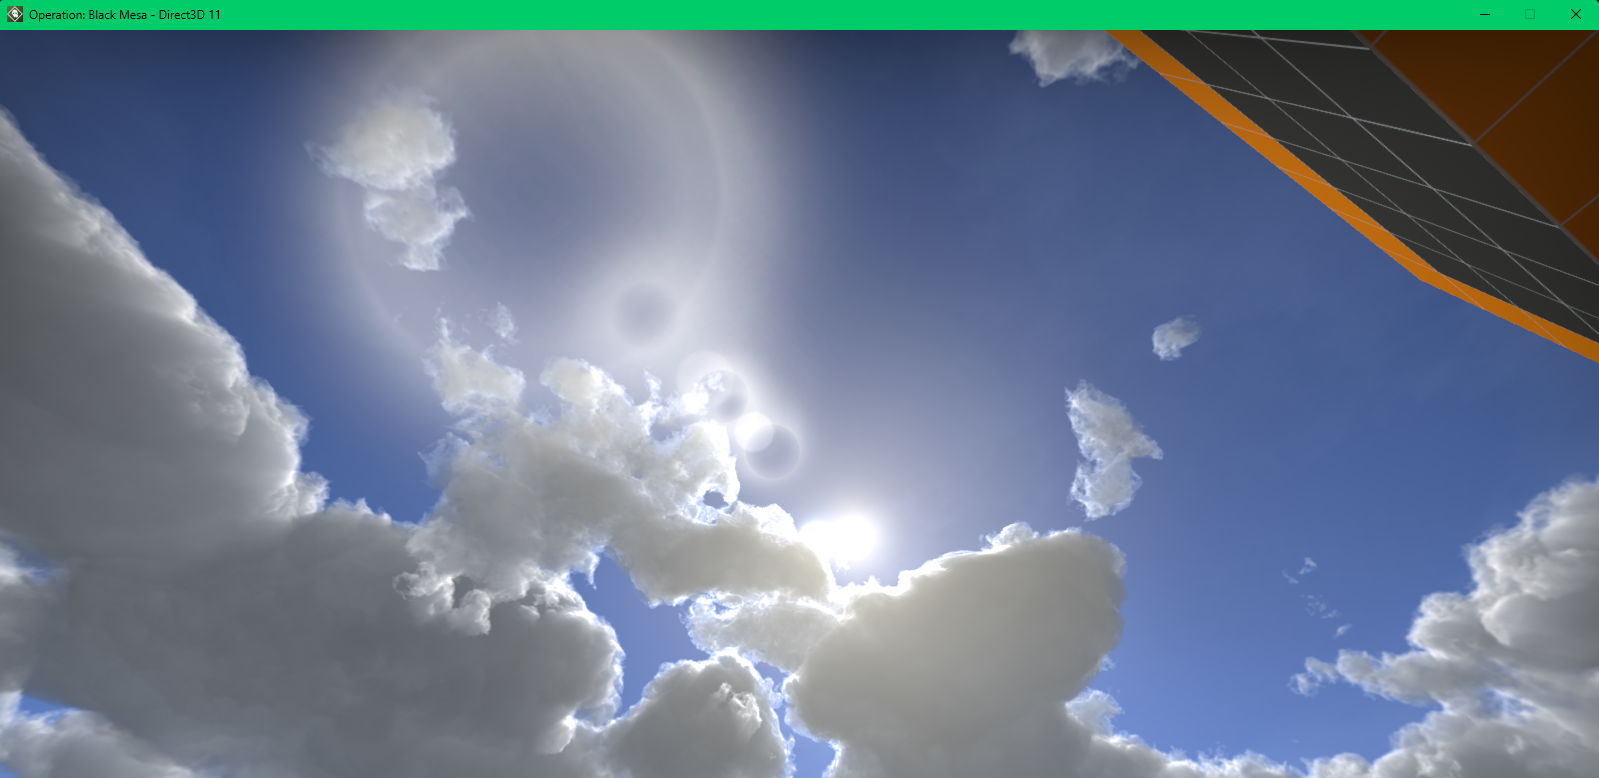
Ported the Lensflare Shader.
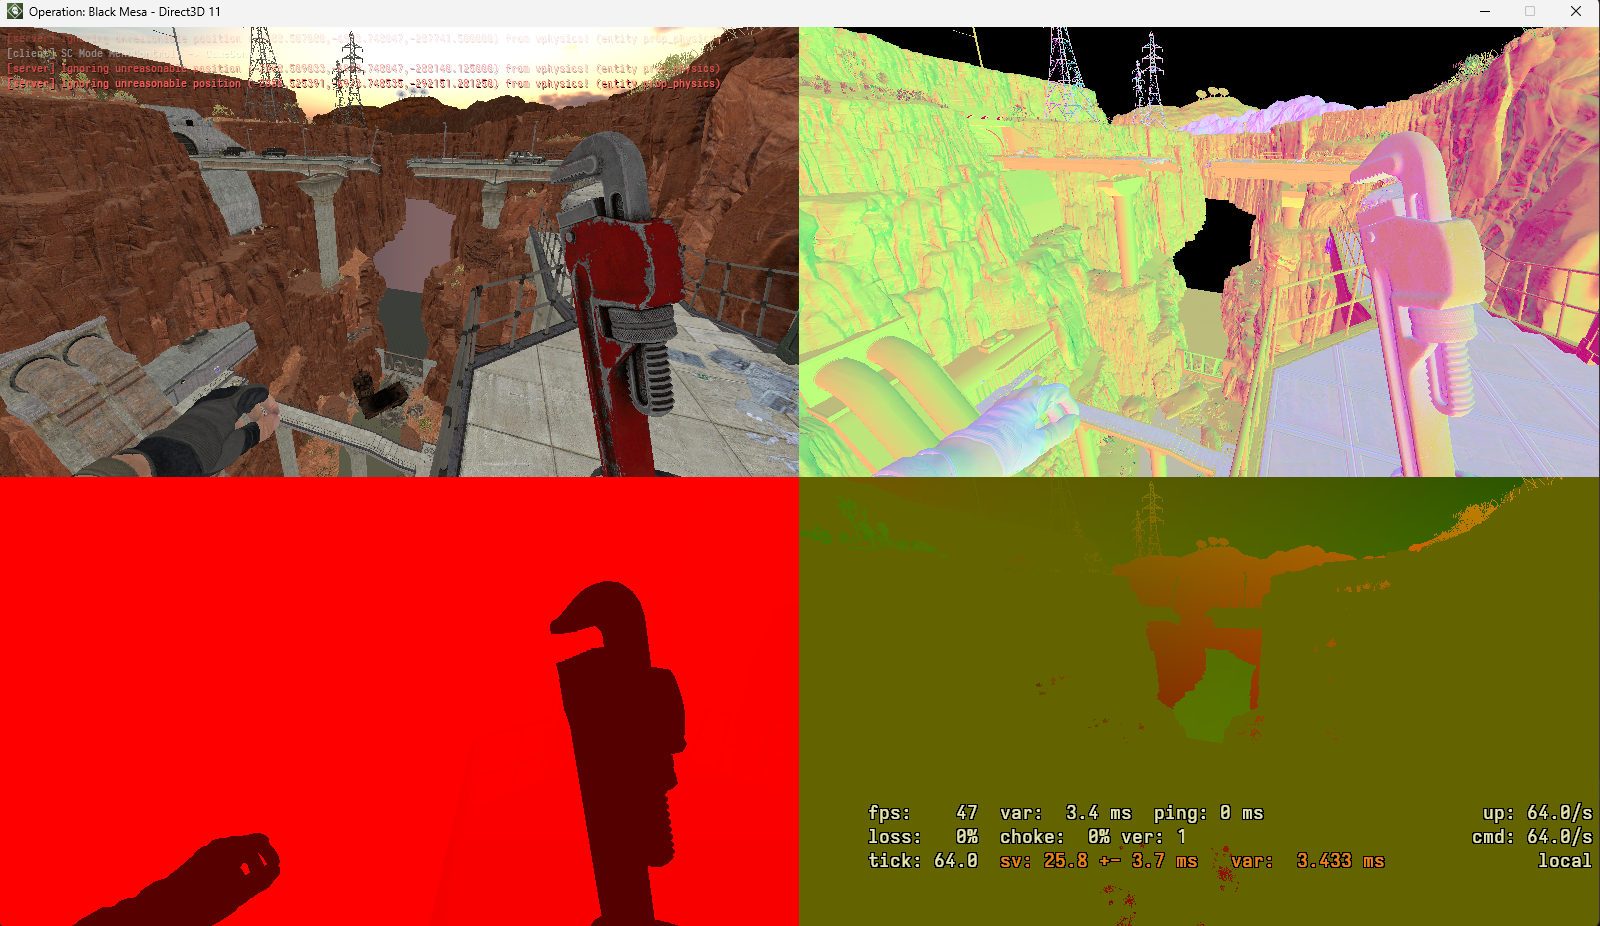
Ported the Deferred Renderer. I modified the G-Buffer layout on this iteration of the renderer to use as little space as possible. Normals are now encoded on Octahedral Compression Mapping. This makes the normals occupy only 2 channels, and then packed together with roughness and metalness. A new buffer is now created to store per-pixel velocity called the Velocity Buffer. this buffer will then be used for either motion blur or DLSS/FSR, if the developer implements it.
Half-Pixel Offset
On D3D9, there is a half-pixel offset that is present on all rendering code. On D3D11 this doesnt exist anymore so the top level rendering code has to change to account for this. More information about the Half-Pixel Offset is available here.
Instancing
Since D3D11 supports DrawIndexedInstanced, I implemented it to work with the static prop rendering code. This has mixed results but rendering a lot of models dont bog down the system anymore as much as it was on D3D9.
This instancing path is used mainly on shadowmapping pass where there is little material variety and instancing can be retrofitted into the current rendering pipeline more easily.
Additional Features Included on the D3D11 Port
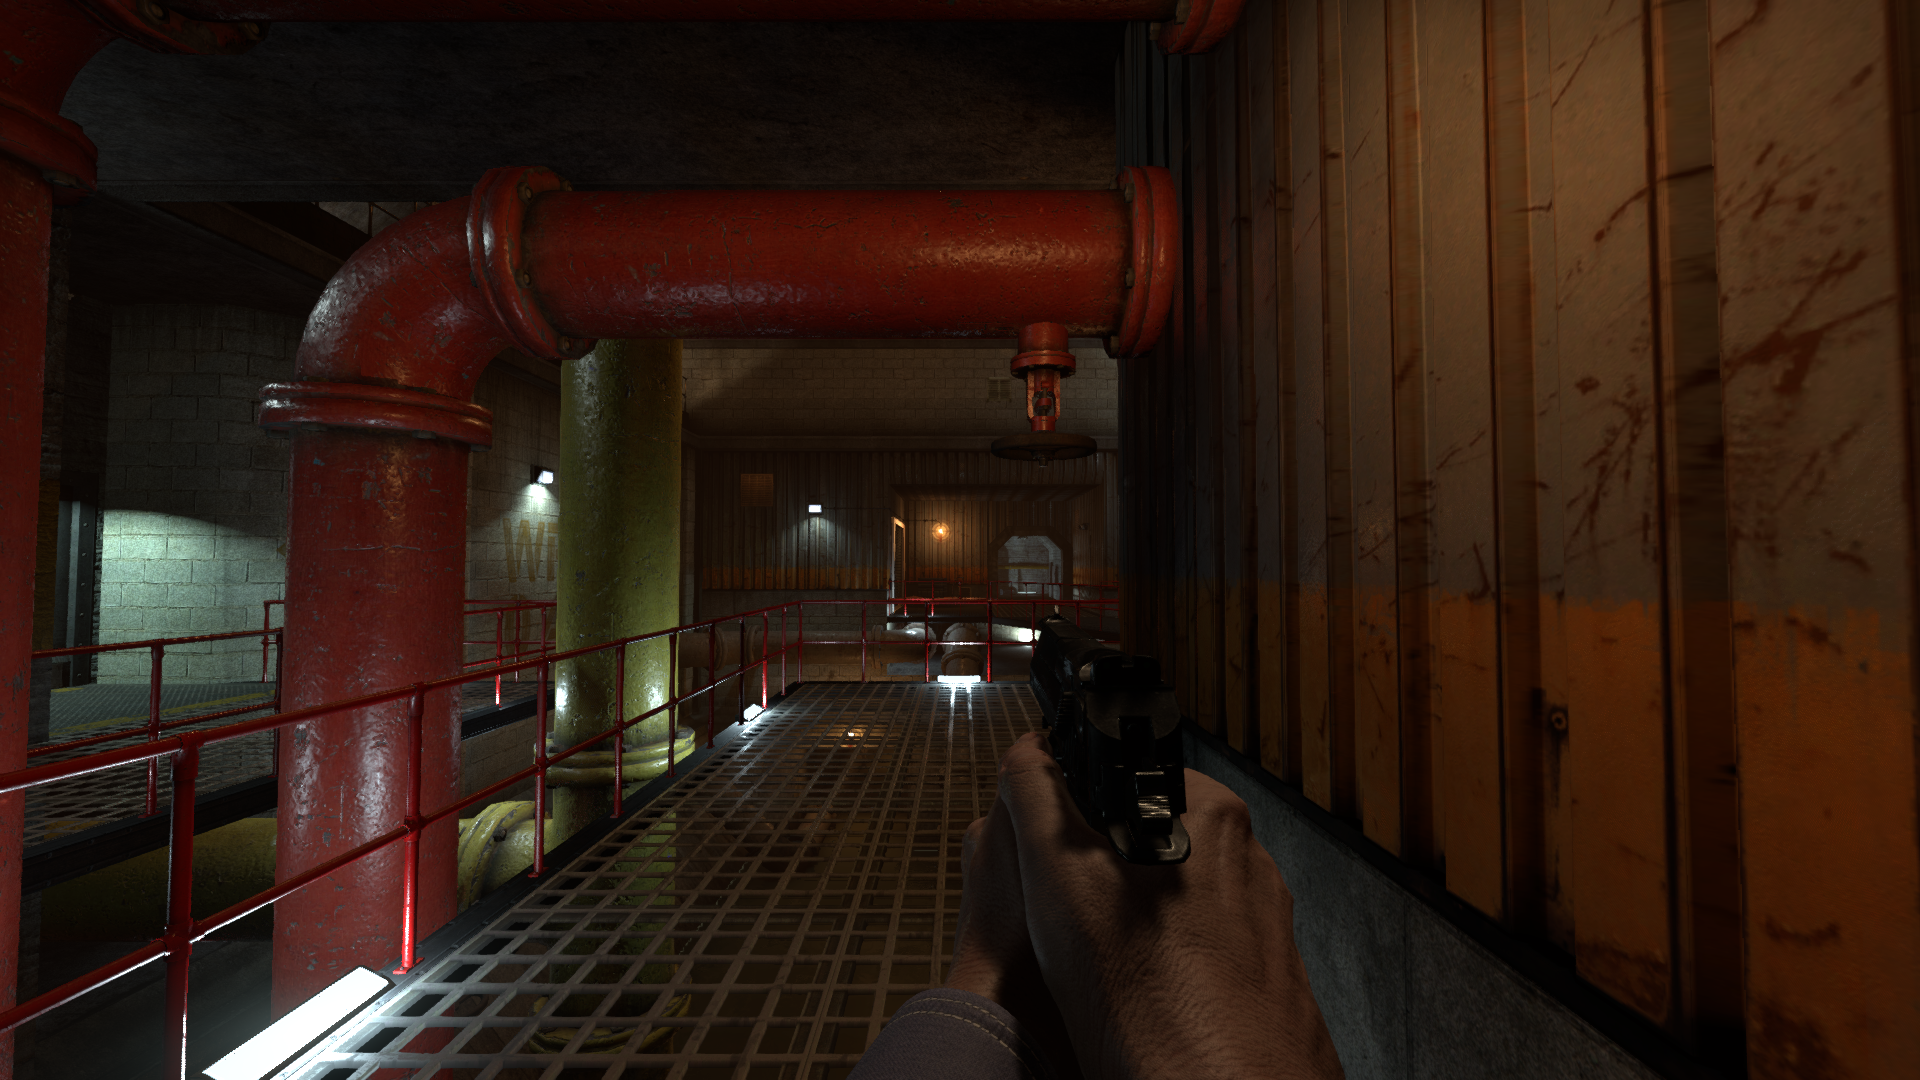
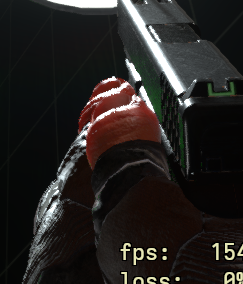
Parallax Correction for Models and Brushes
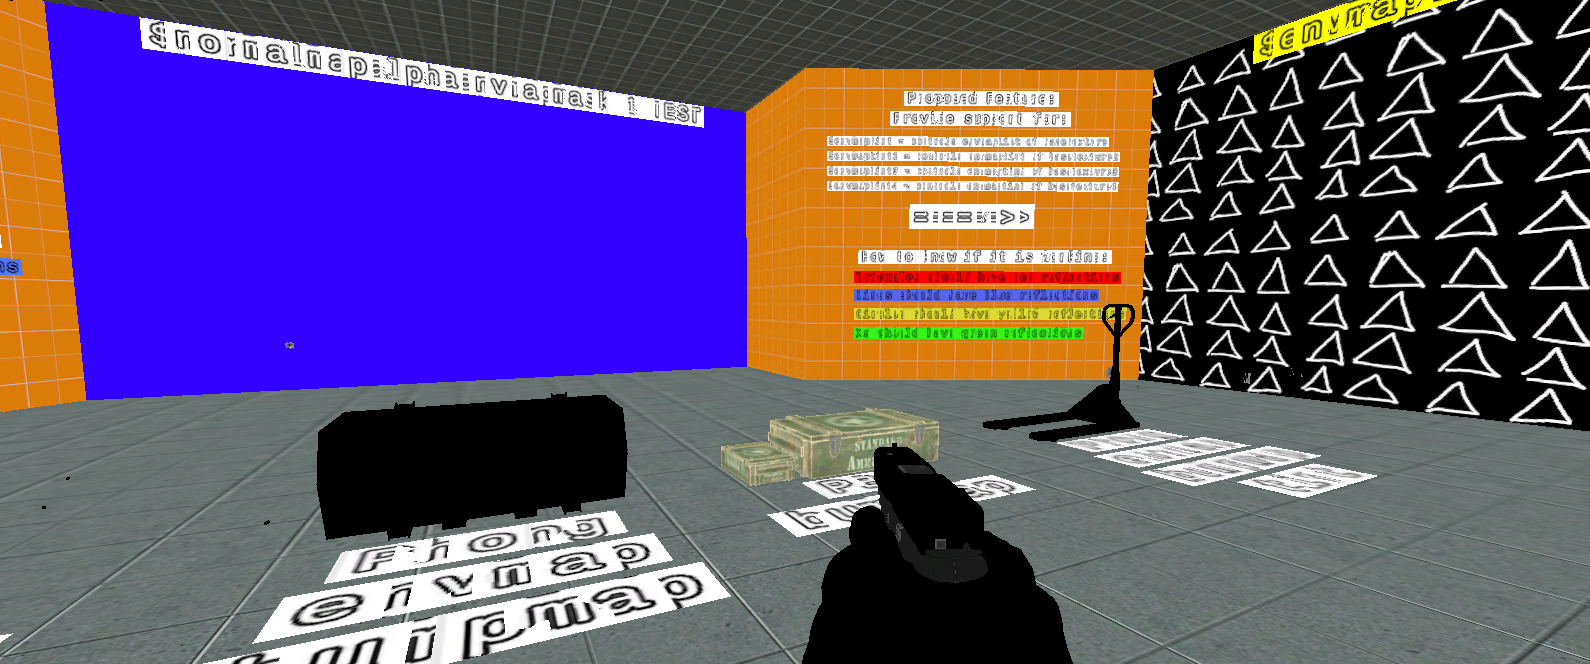
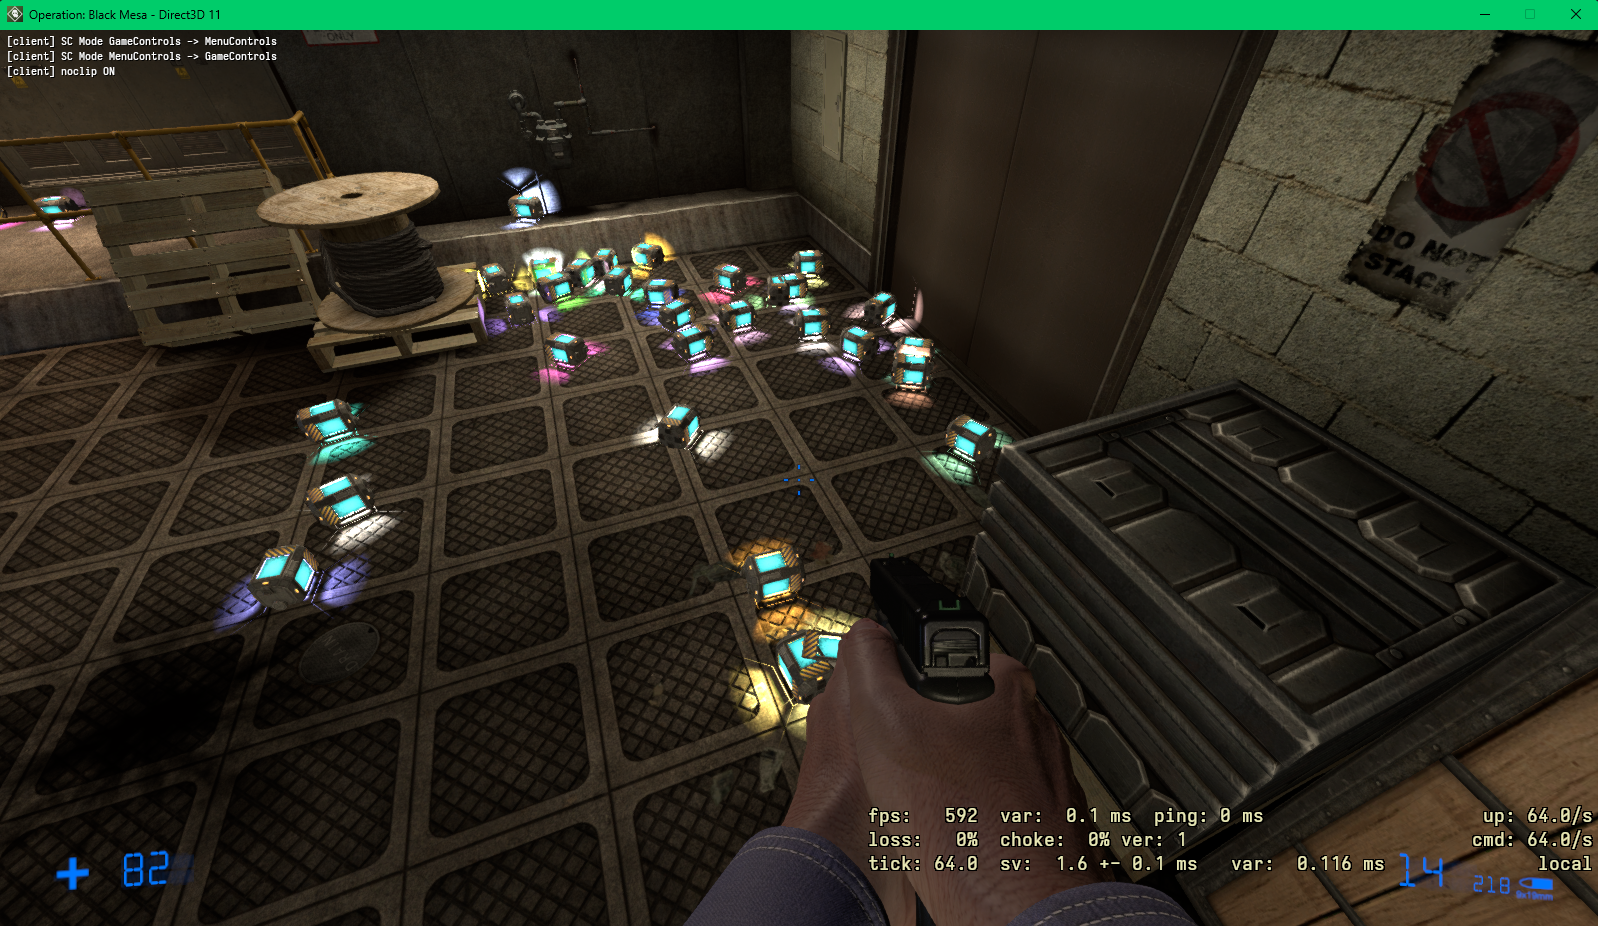
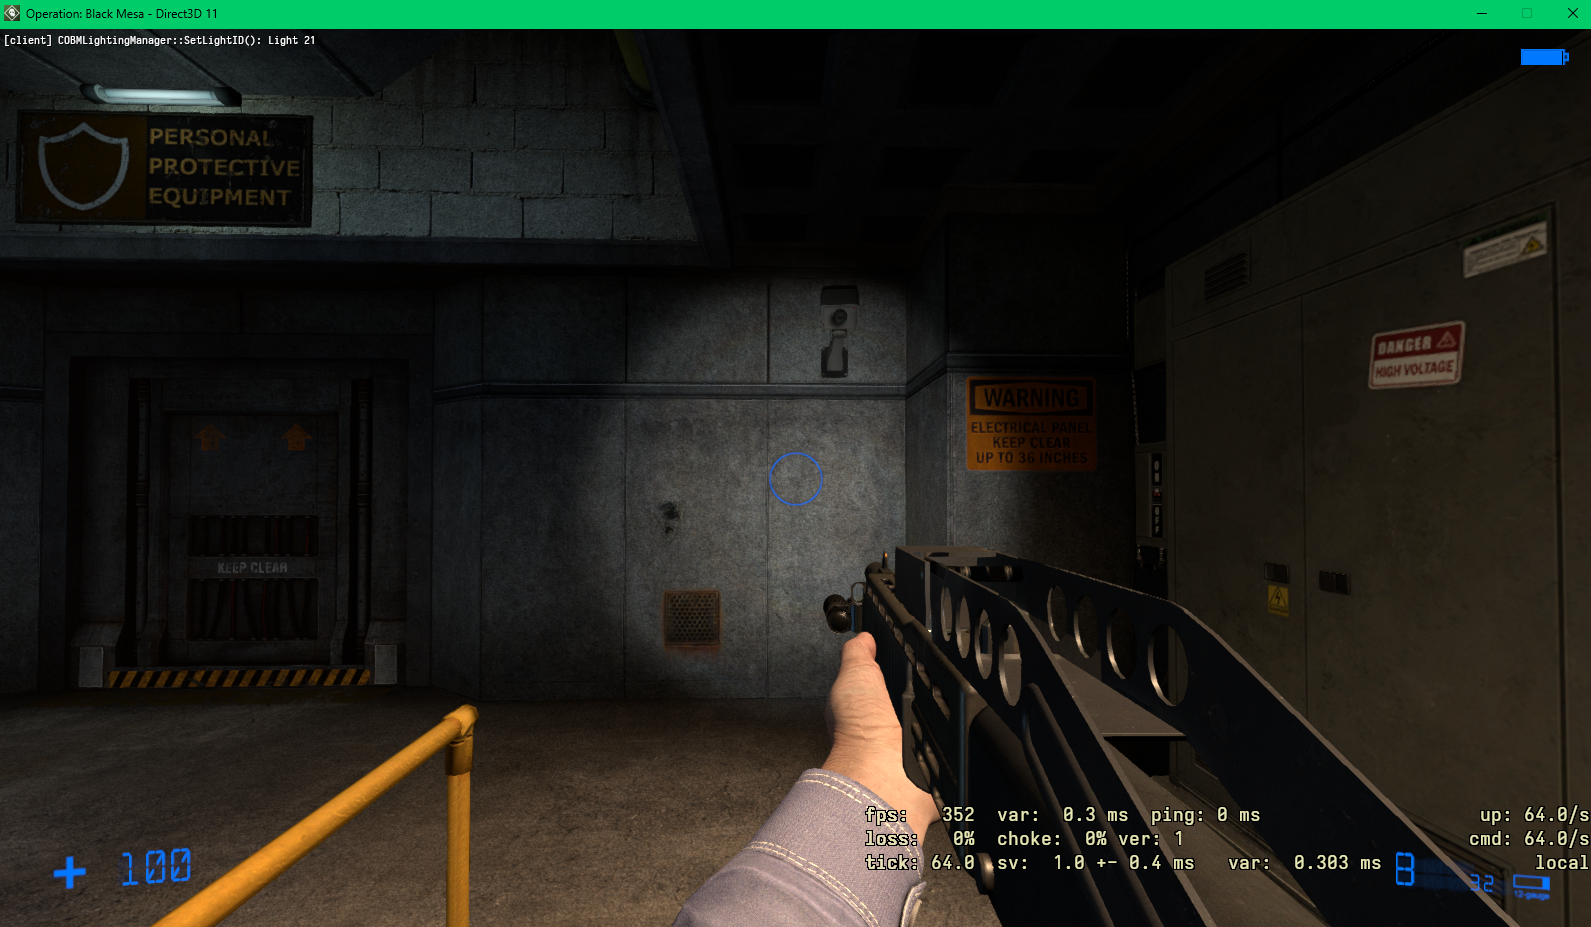
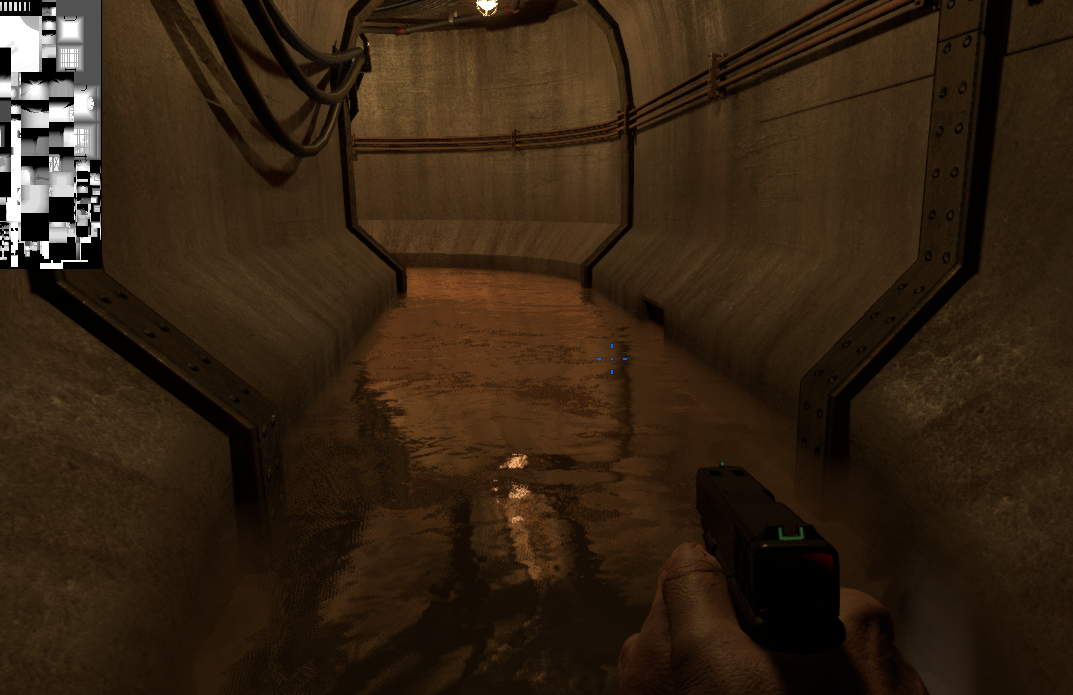
In addition to brushes supporting Parallax Corrected Cubemaps, I also implemented it for models. This is done to ensure a consistent reflection behavior across geometry classes. The parallax correction also applies to moving models, as shown on the pistol reflection.
Parallax Occlusion with Blending Modulation
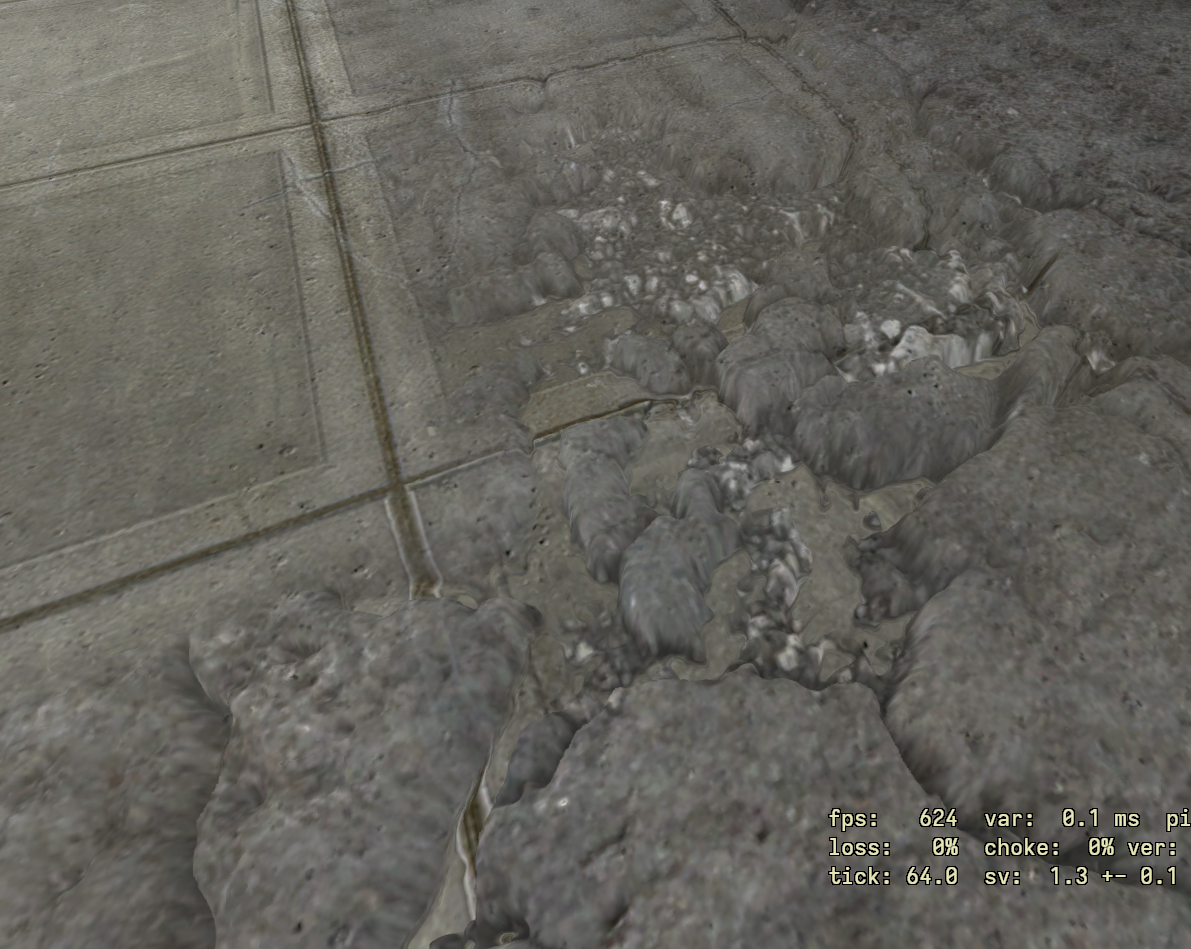
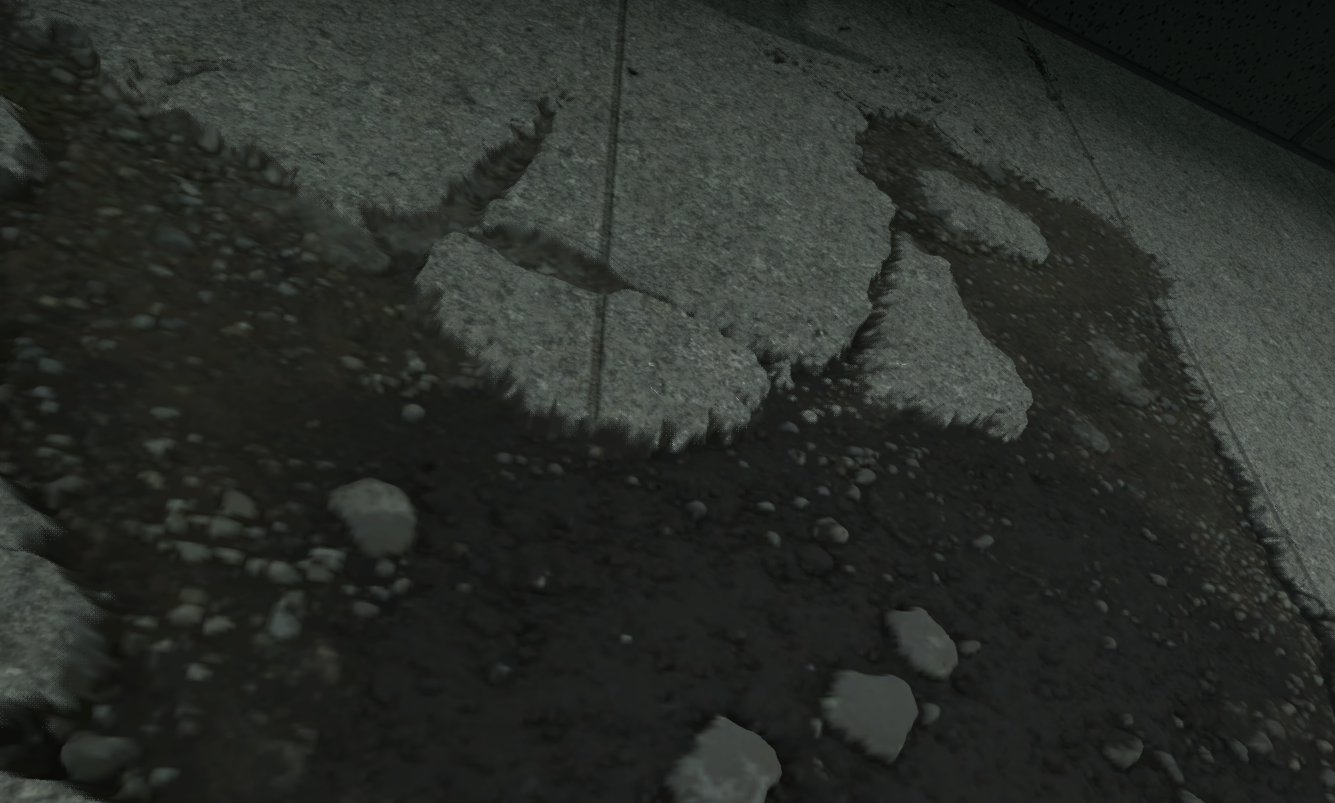
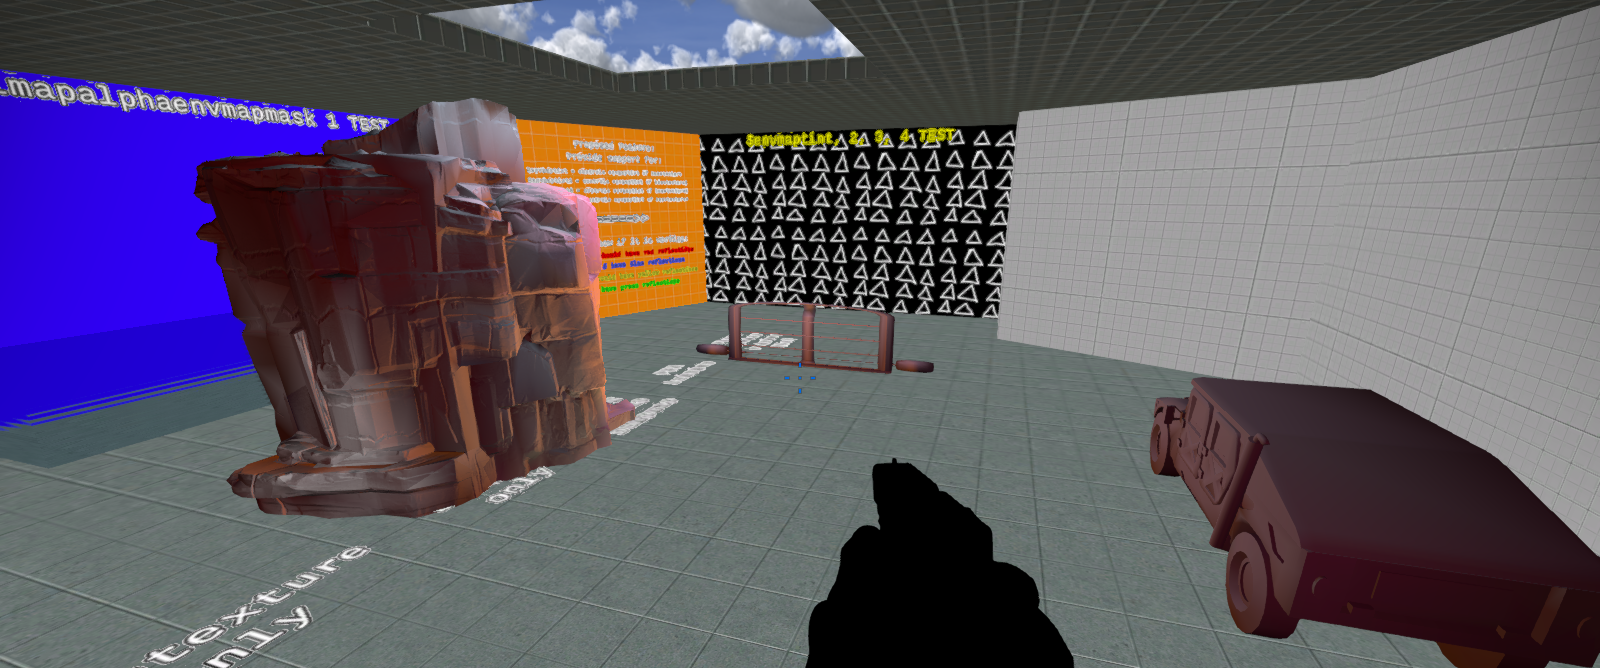
To allow increased detail without bloating our polygon count (especially on brushes), we now use Parallax Occlusion Mapping to simulate larger bumps and creases on our surfaces. Parallax Occlusion “warps” the 2D texture coordinates of the material depending on a tangent-space trace against a heightmap. This is defined by a string in the material’s settings, and can be adjusted by the artist to make the effect as strong or weak as they desire. Like the detail normals, it also supports, 2-way/ 4-way blending, so you can do multiple parallax occlusion effects at once.
The same Heightmap texture can be used for a variety of ways, including but not limited to setting it as a blend modulate texture for 2 or 4WayBlends.
This texture-map reuse is useful for artists to ensure that the blending only happens on specific parts of the texture. for example, if you want to only blend texture 2 on the creases of texture 1, you use the heightmap as your blend modulate texture, such that only on the crease parts of texture 1 will texture 2 appear, even though it is completely painted on the editor.
POM can also be applied to materials as decals or overlays, so that level designers can have reusable surface details that can be placed anywhere on the map.
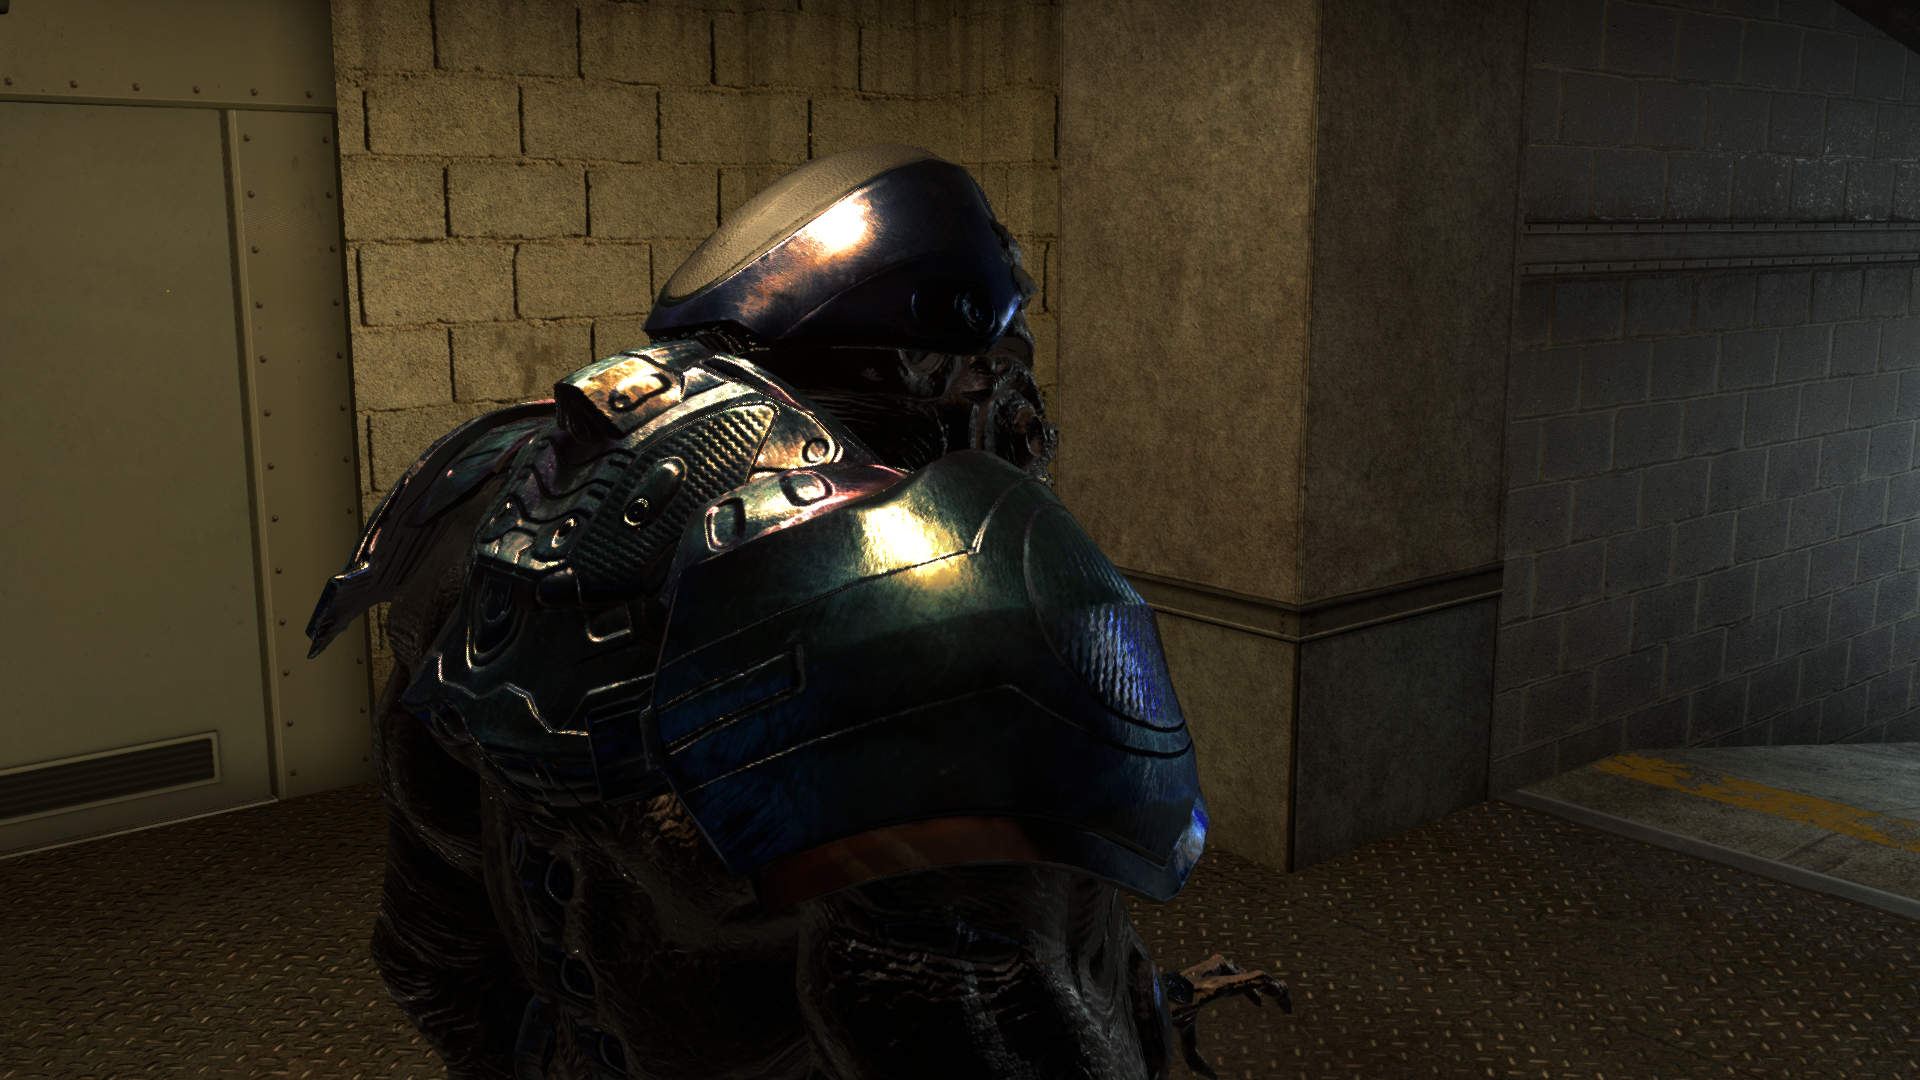
Detail Normal Mapping

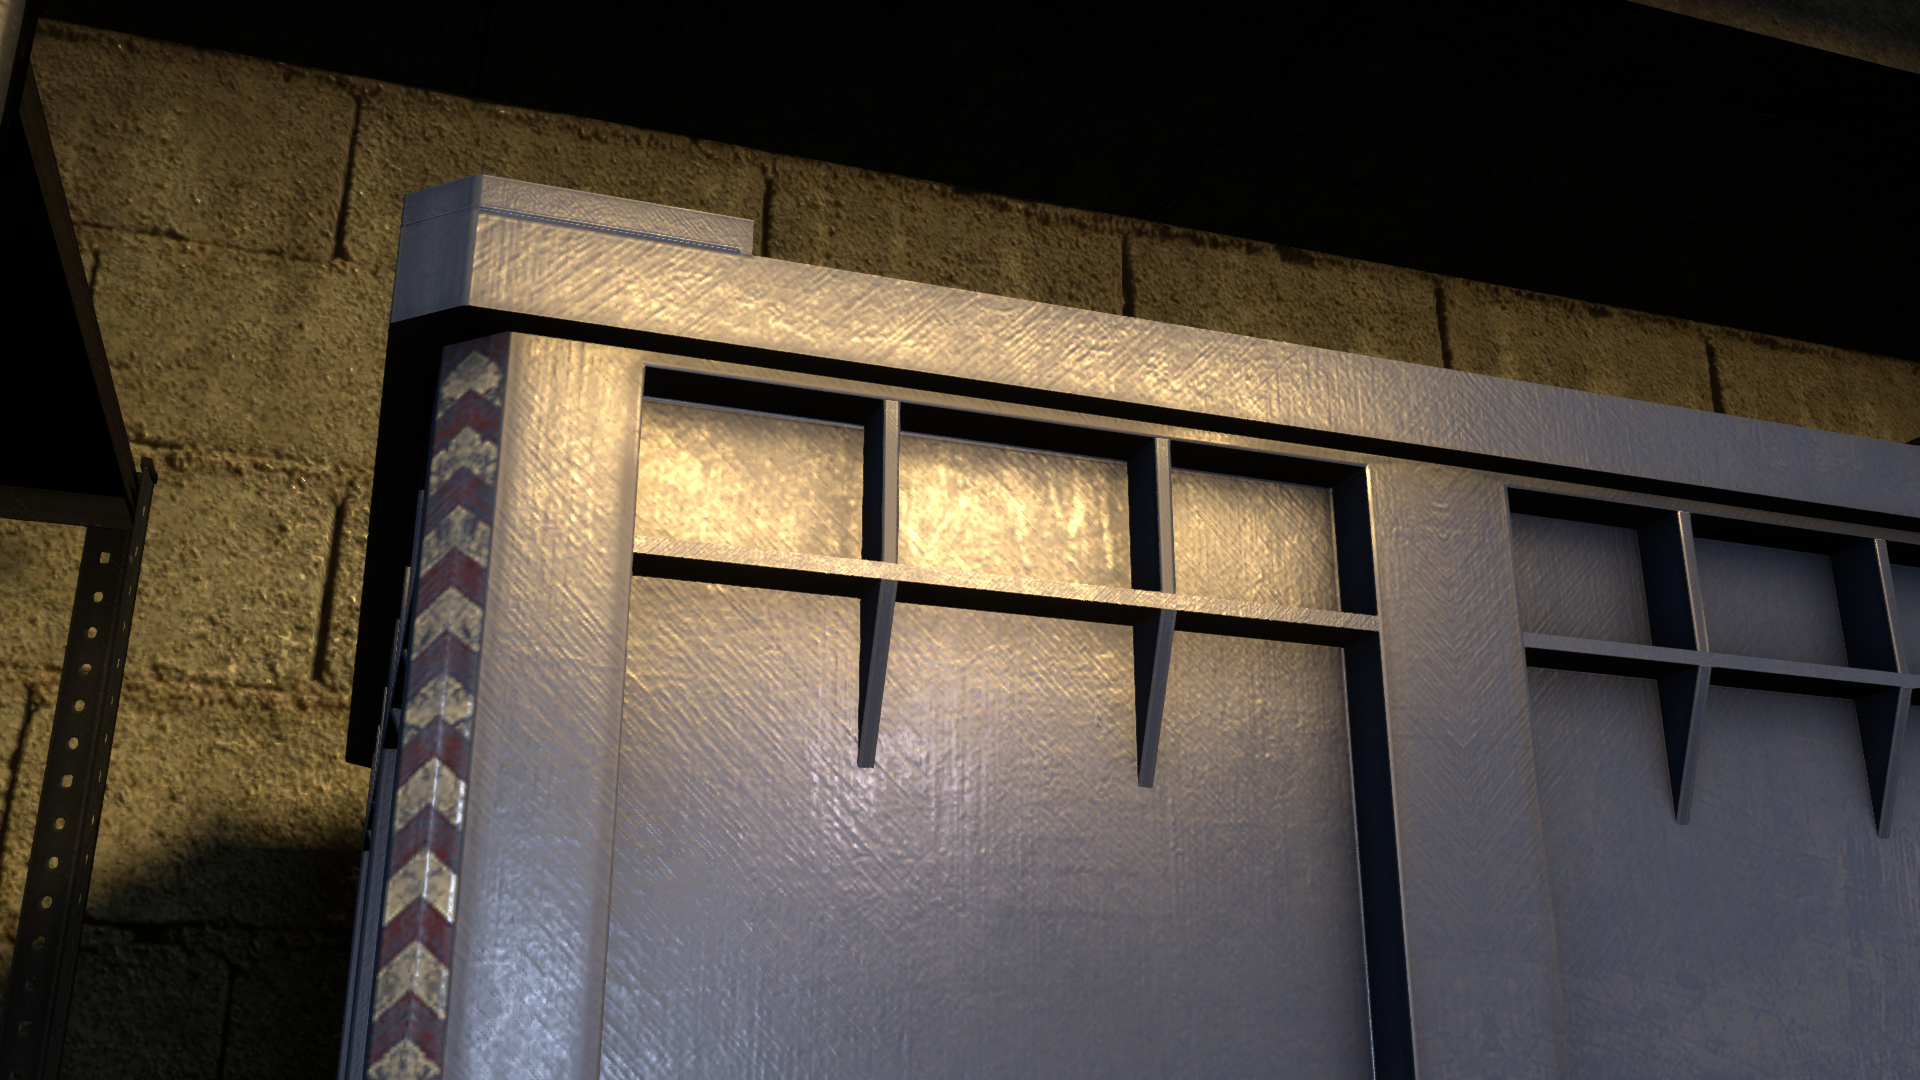
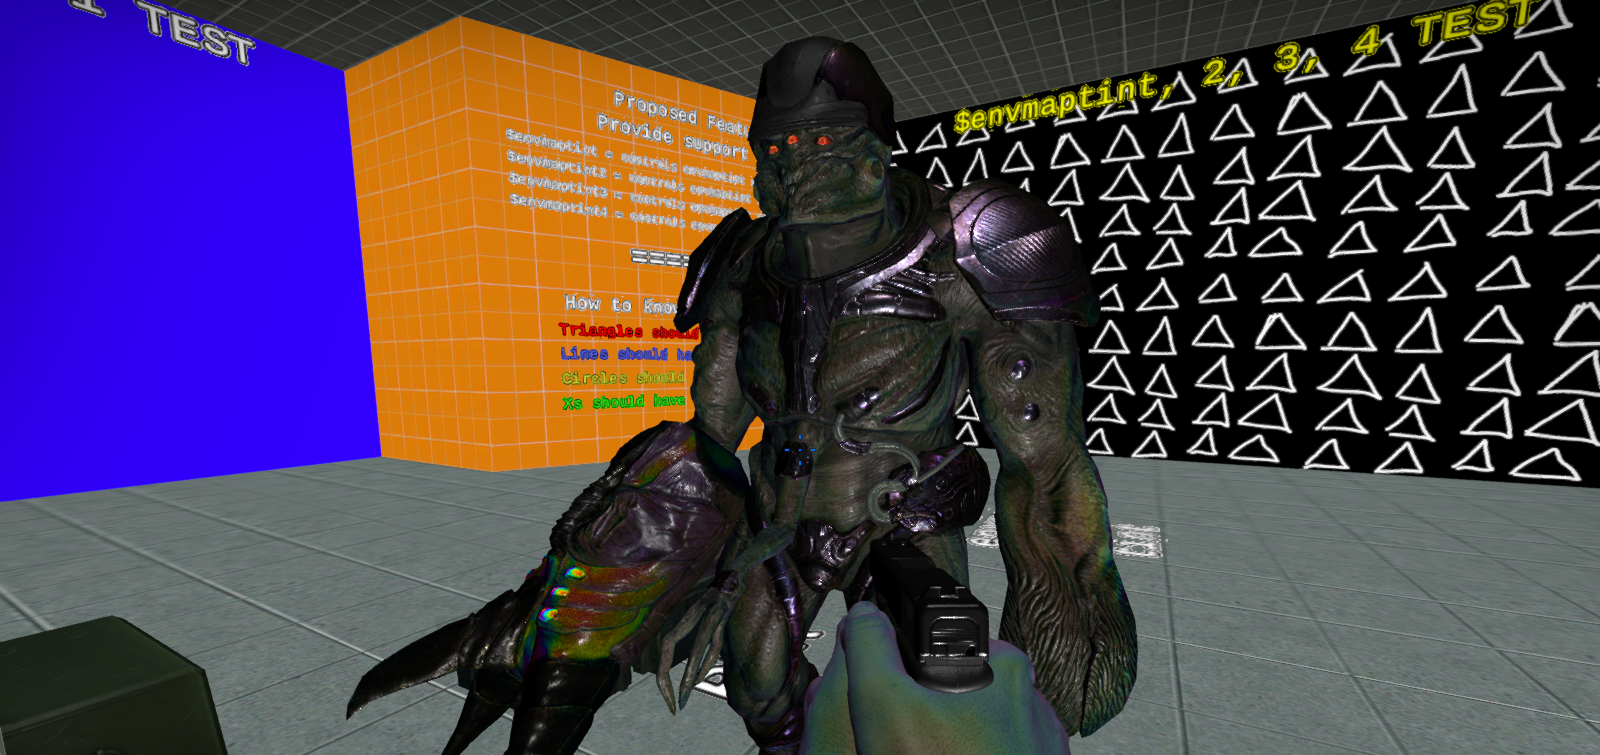
To make our characters and props hold well under scrutiny, we use detail texture normal mapping. This is a new detail blend mode that triggers additive blending between the base normal map, and the detail normal map. It helps our artists convey minute details on our characters, such as blending between the nano-suit, straps, and plastics of the Black Ops Assassin’s clothing. Detail normal mapping is also available for brushes.
Specular Warping
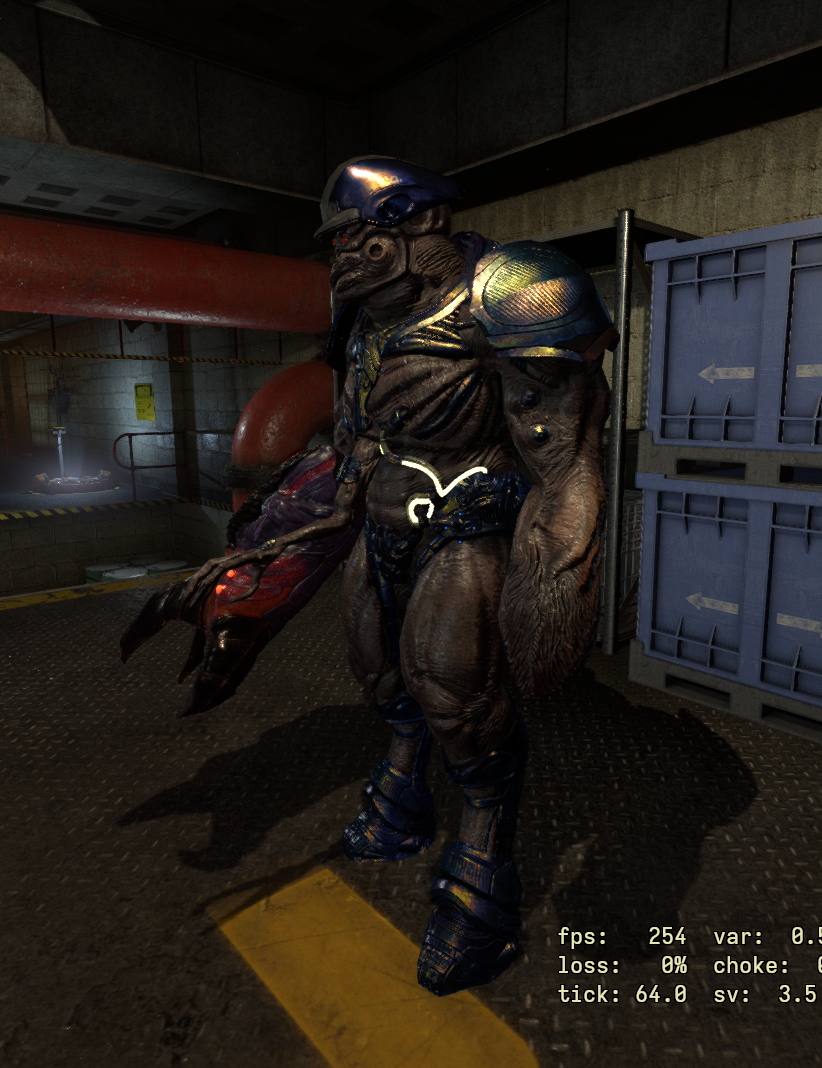
In order to express exotic materials in our NPCs, specular warping is used. This is not too different from the stock specular warping method used on Half-Life 2: Episode 2, however this has been ported into the new lighting system.
Specular warping is now also supported on brushes up to 4 way blended materials.
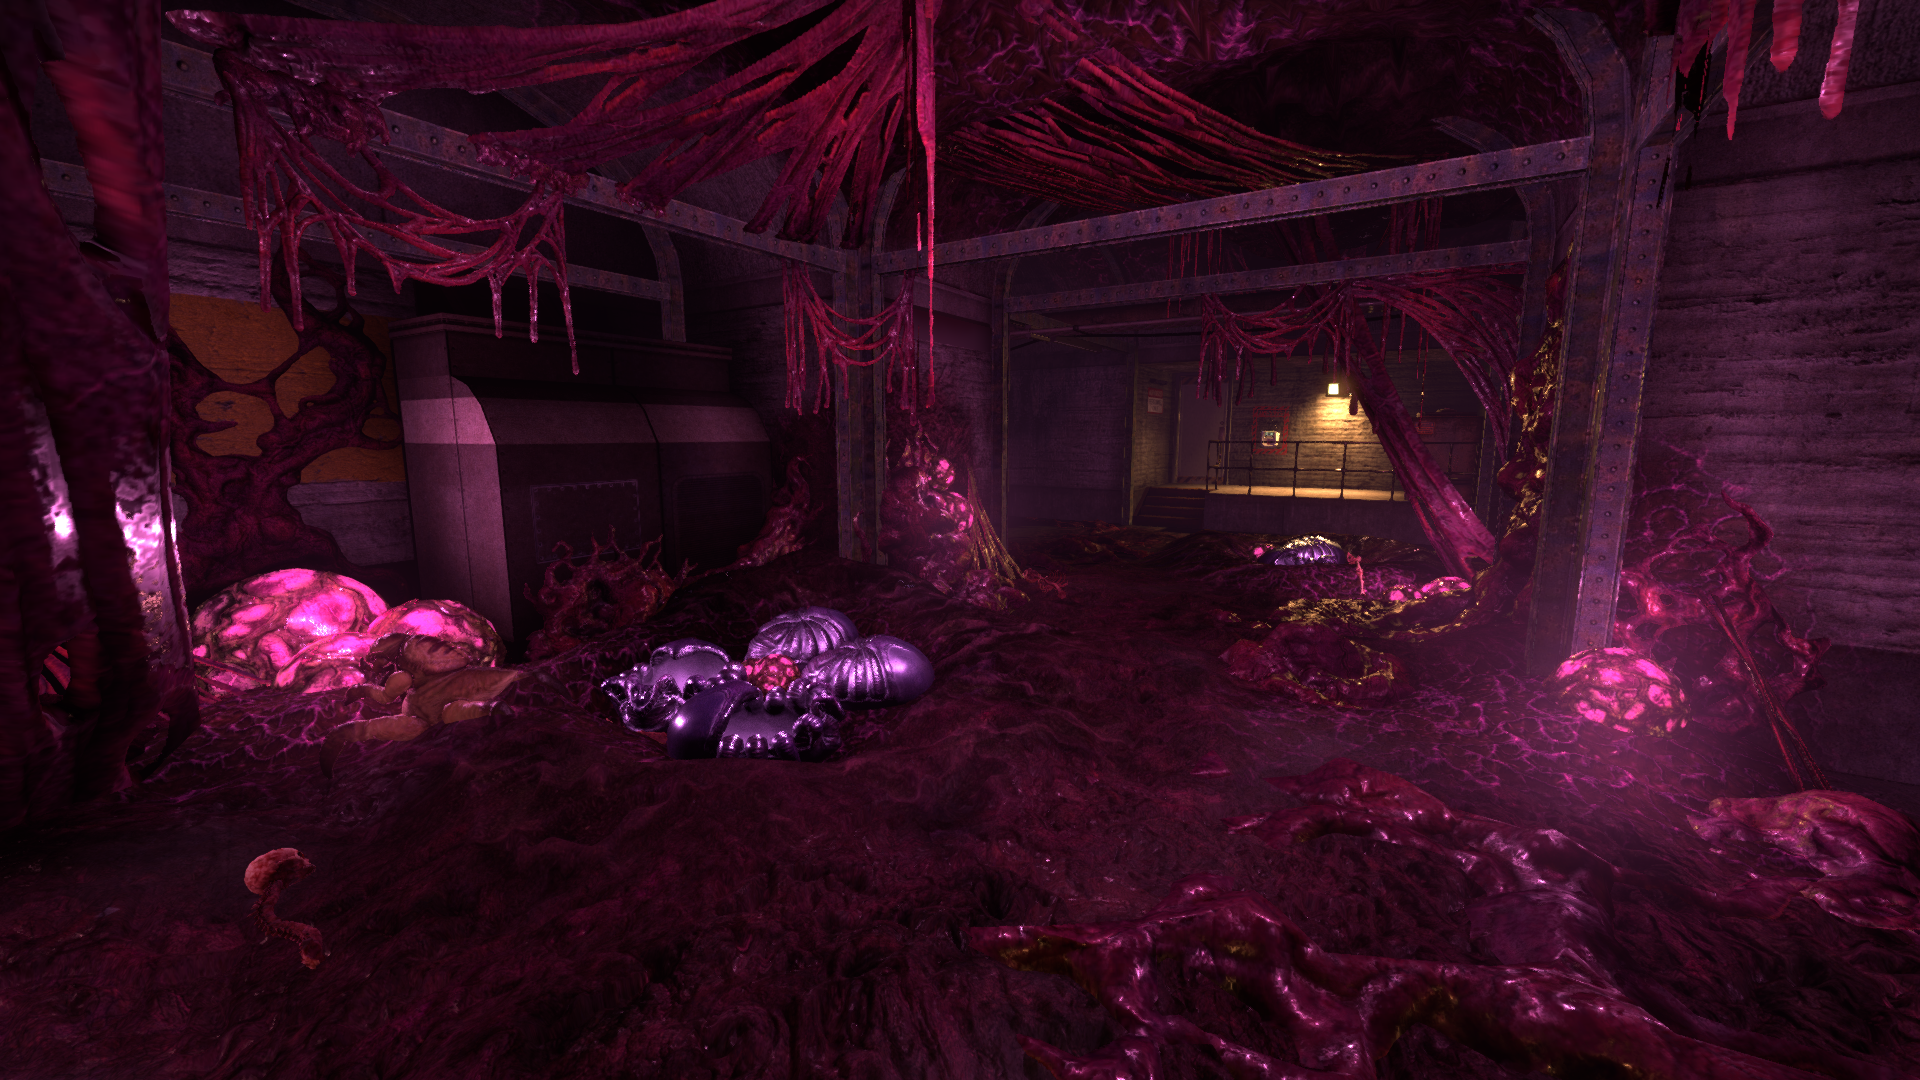
Subsurface Scattering
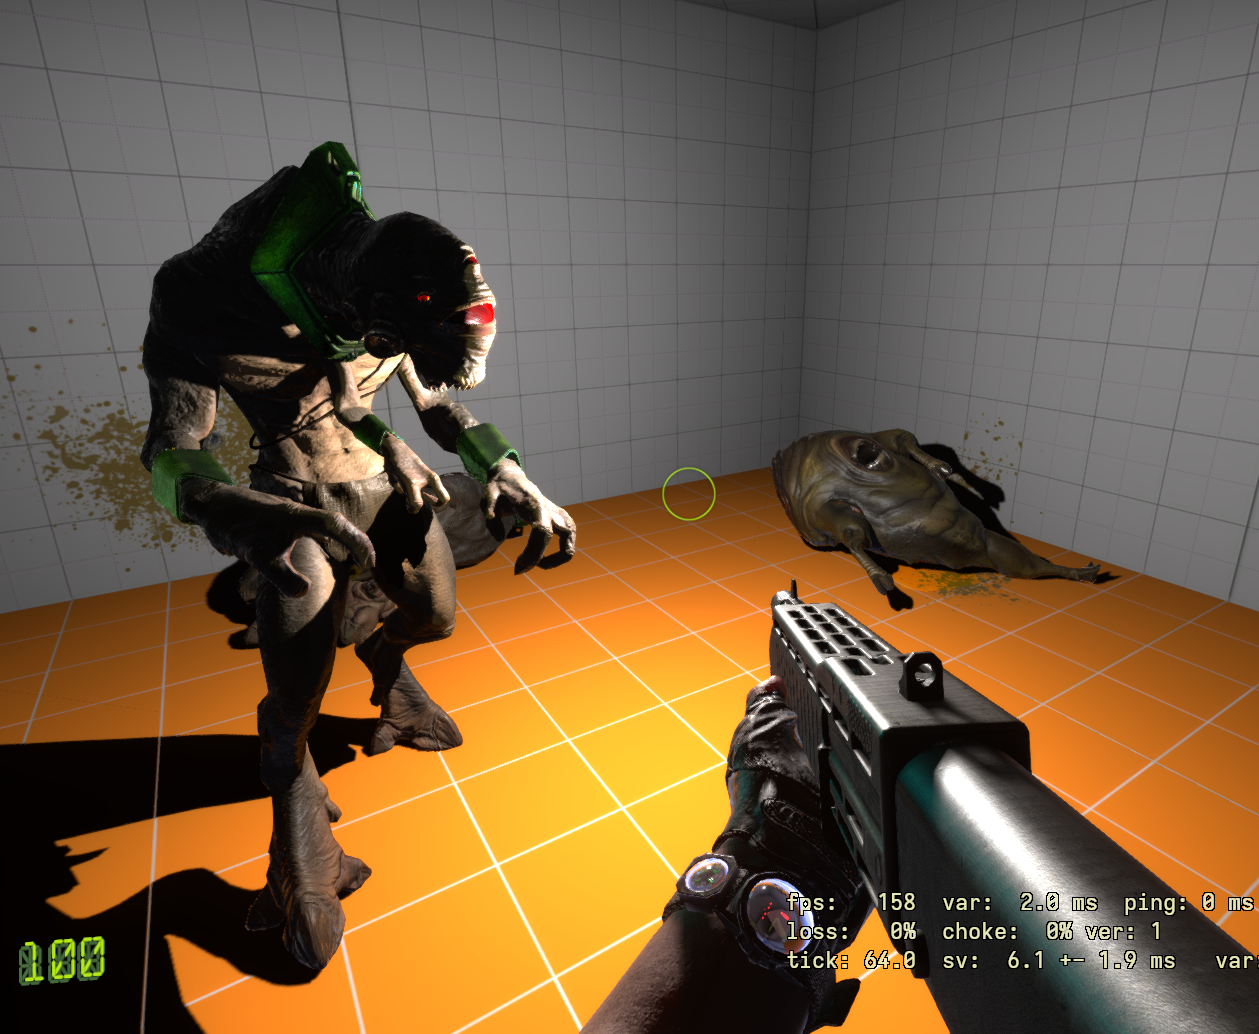
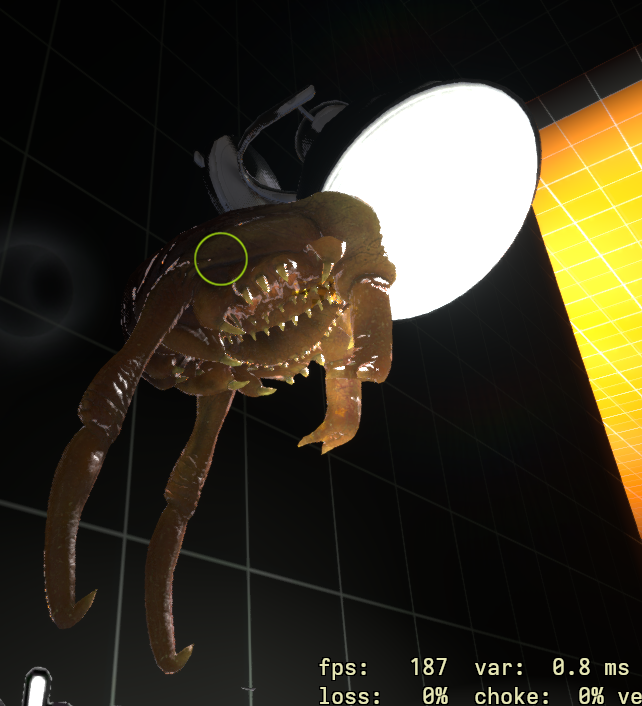
In order to express fleshy materials and alien matter, Subsurface Scattering is used. the method used here is a simple preintegrated lightwarp with direction to light source as the X direction, and a thickness map on the Y direction. thickness map may be applied as an alpha of the material texture, set via a flag.
Misc Effects
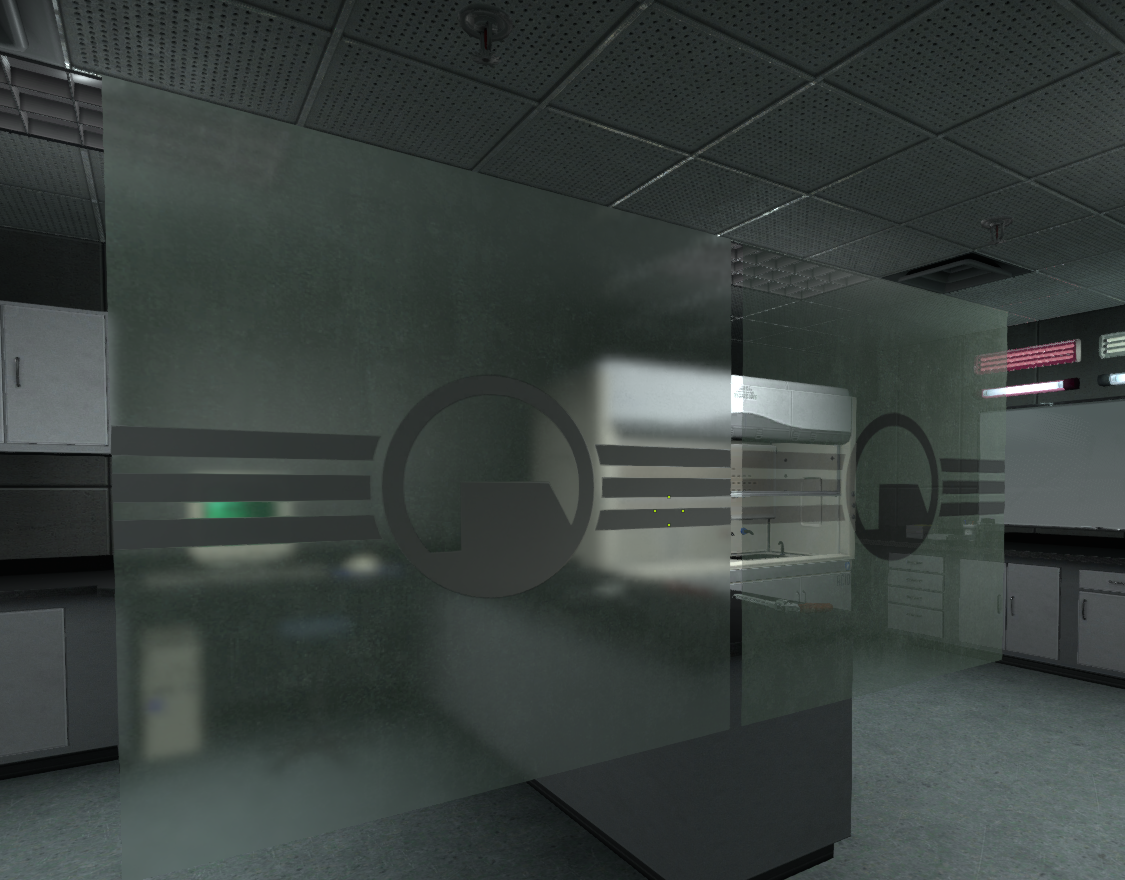
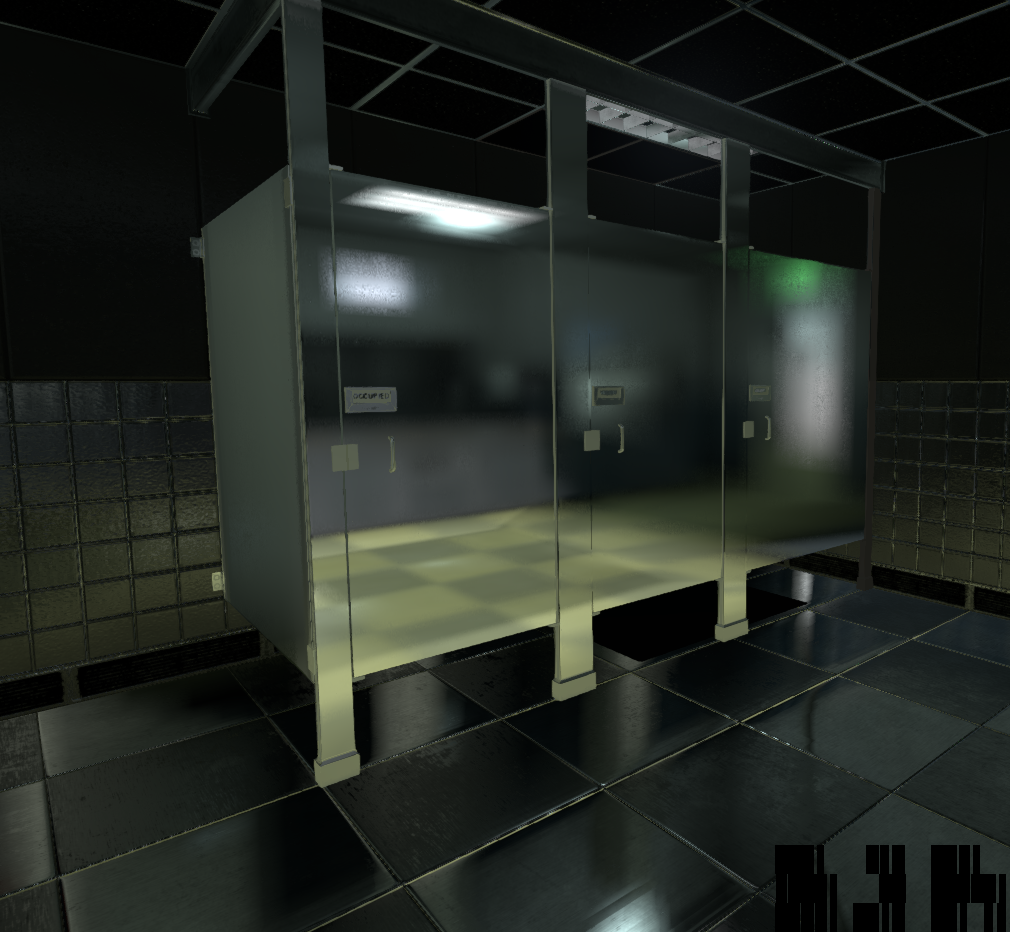
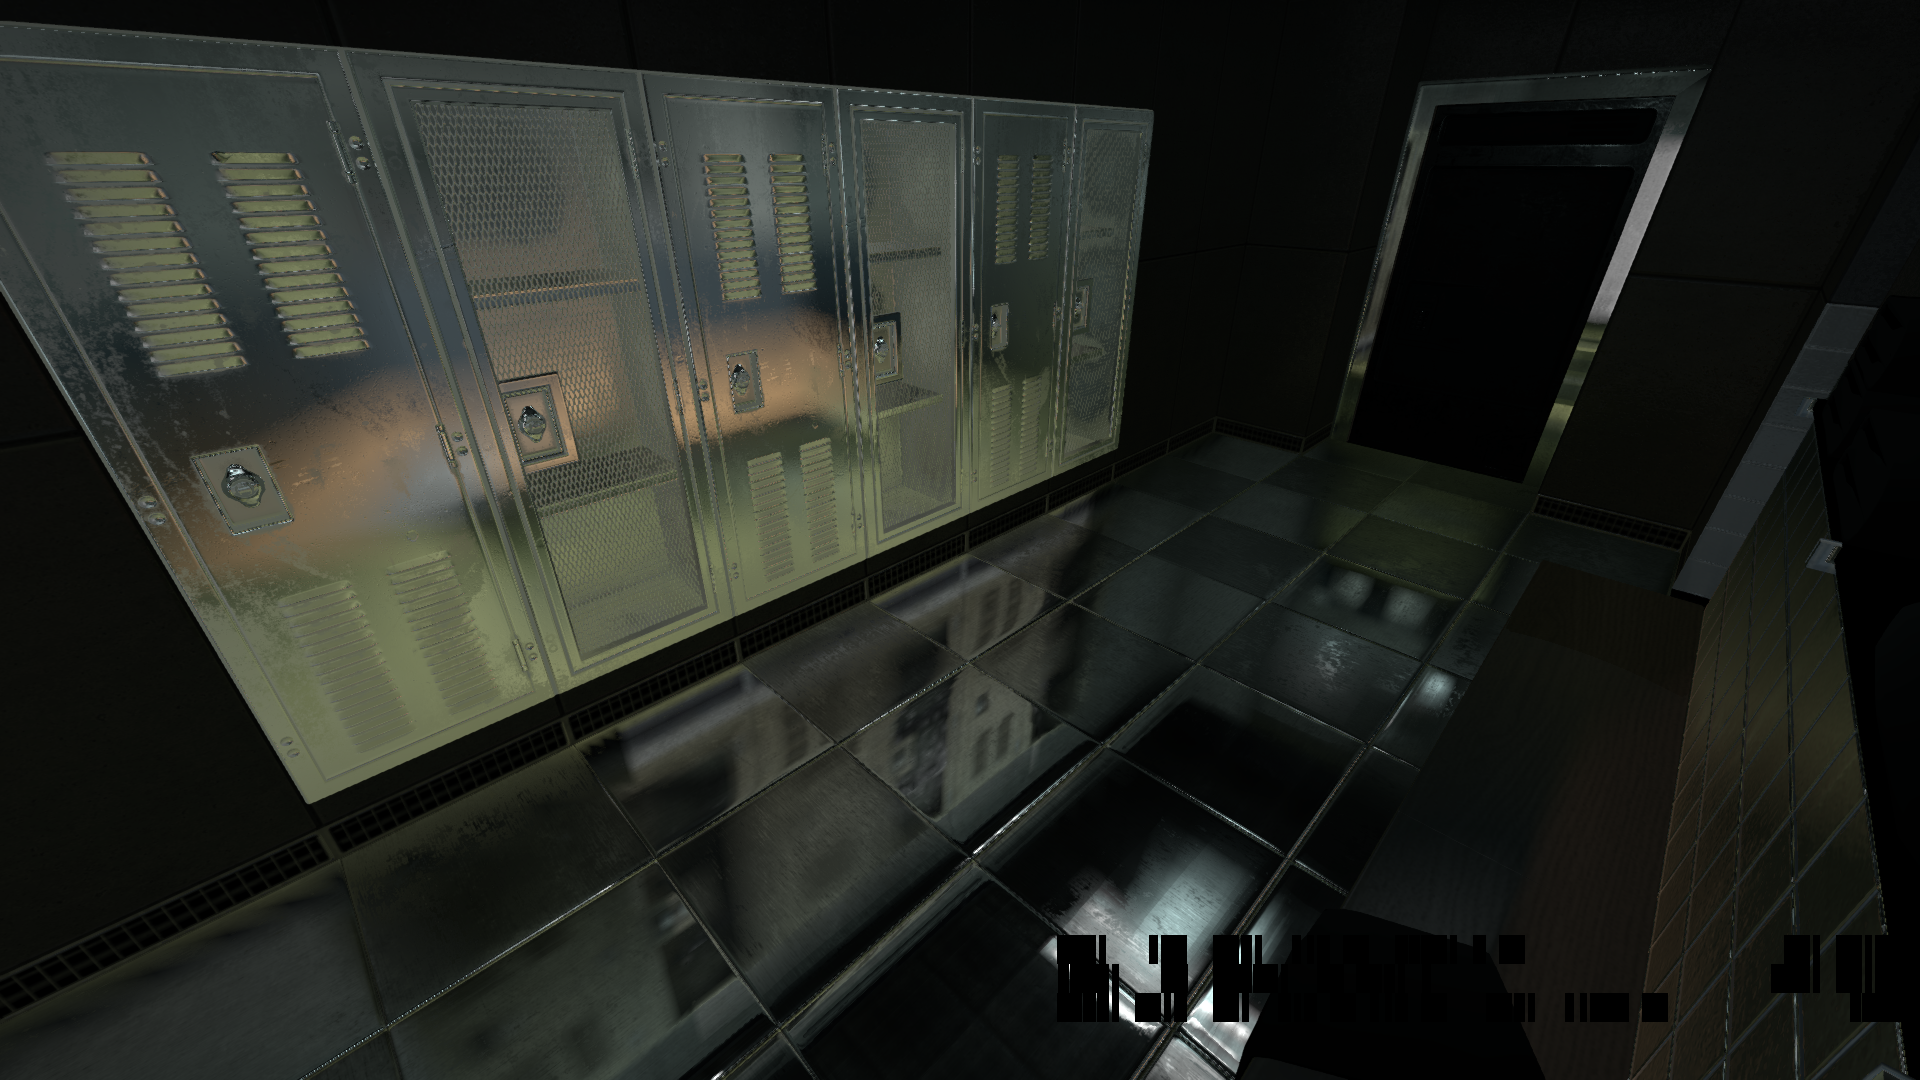
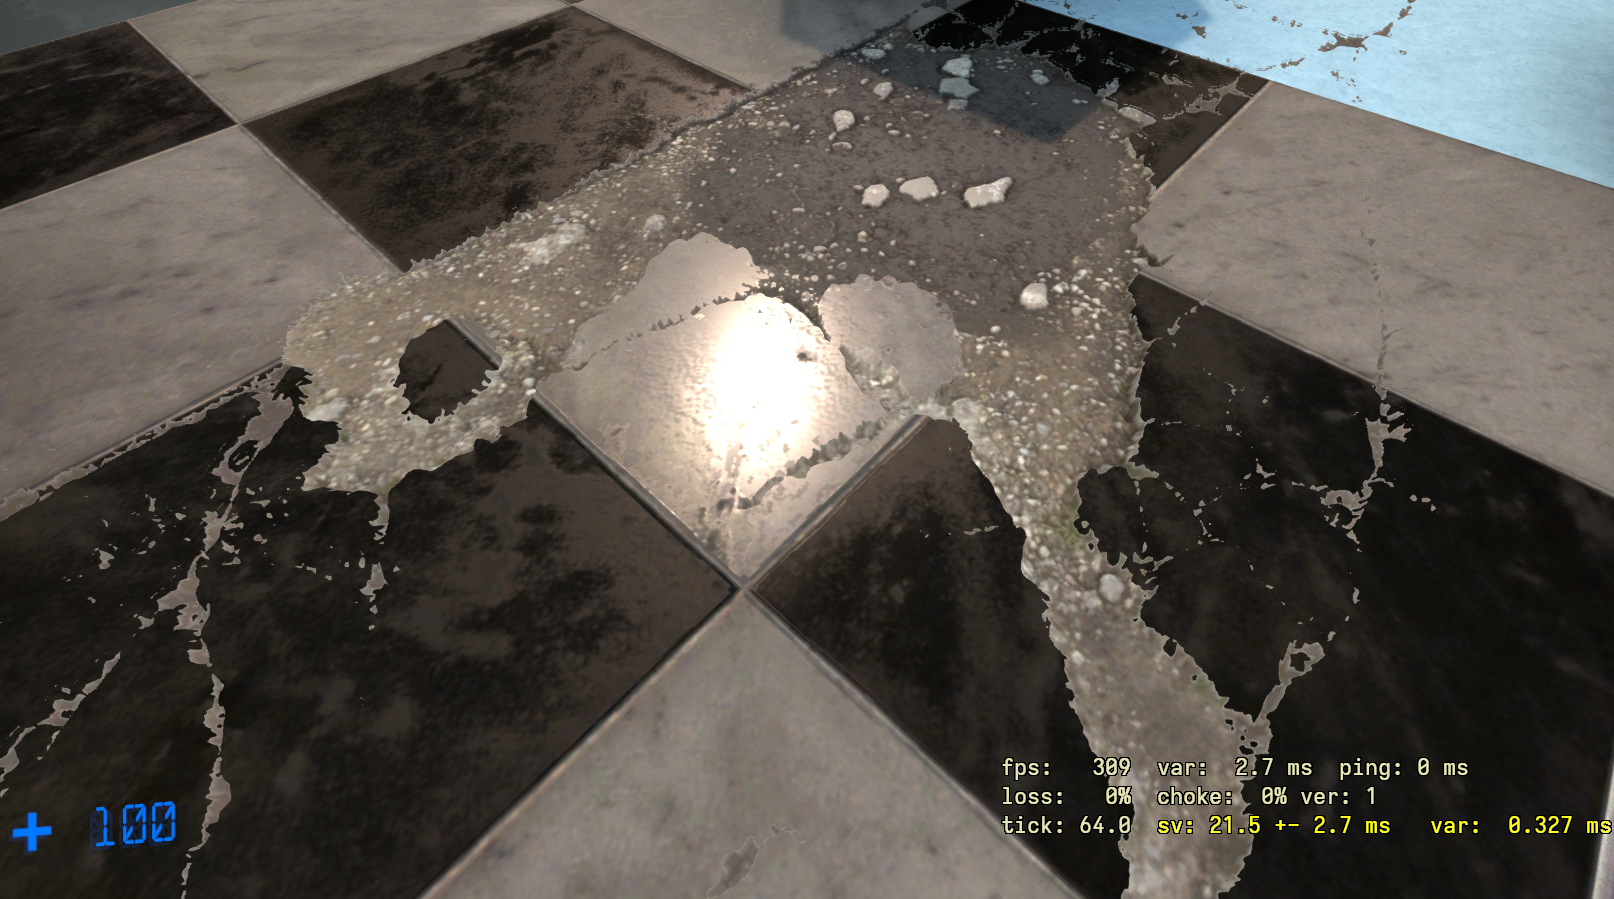
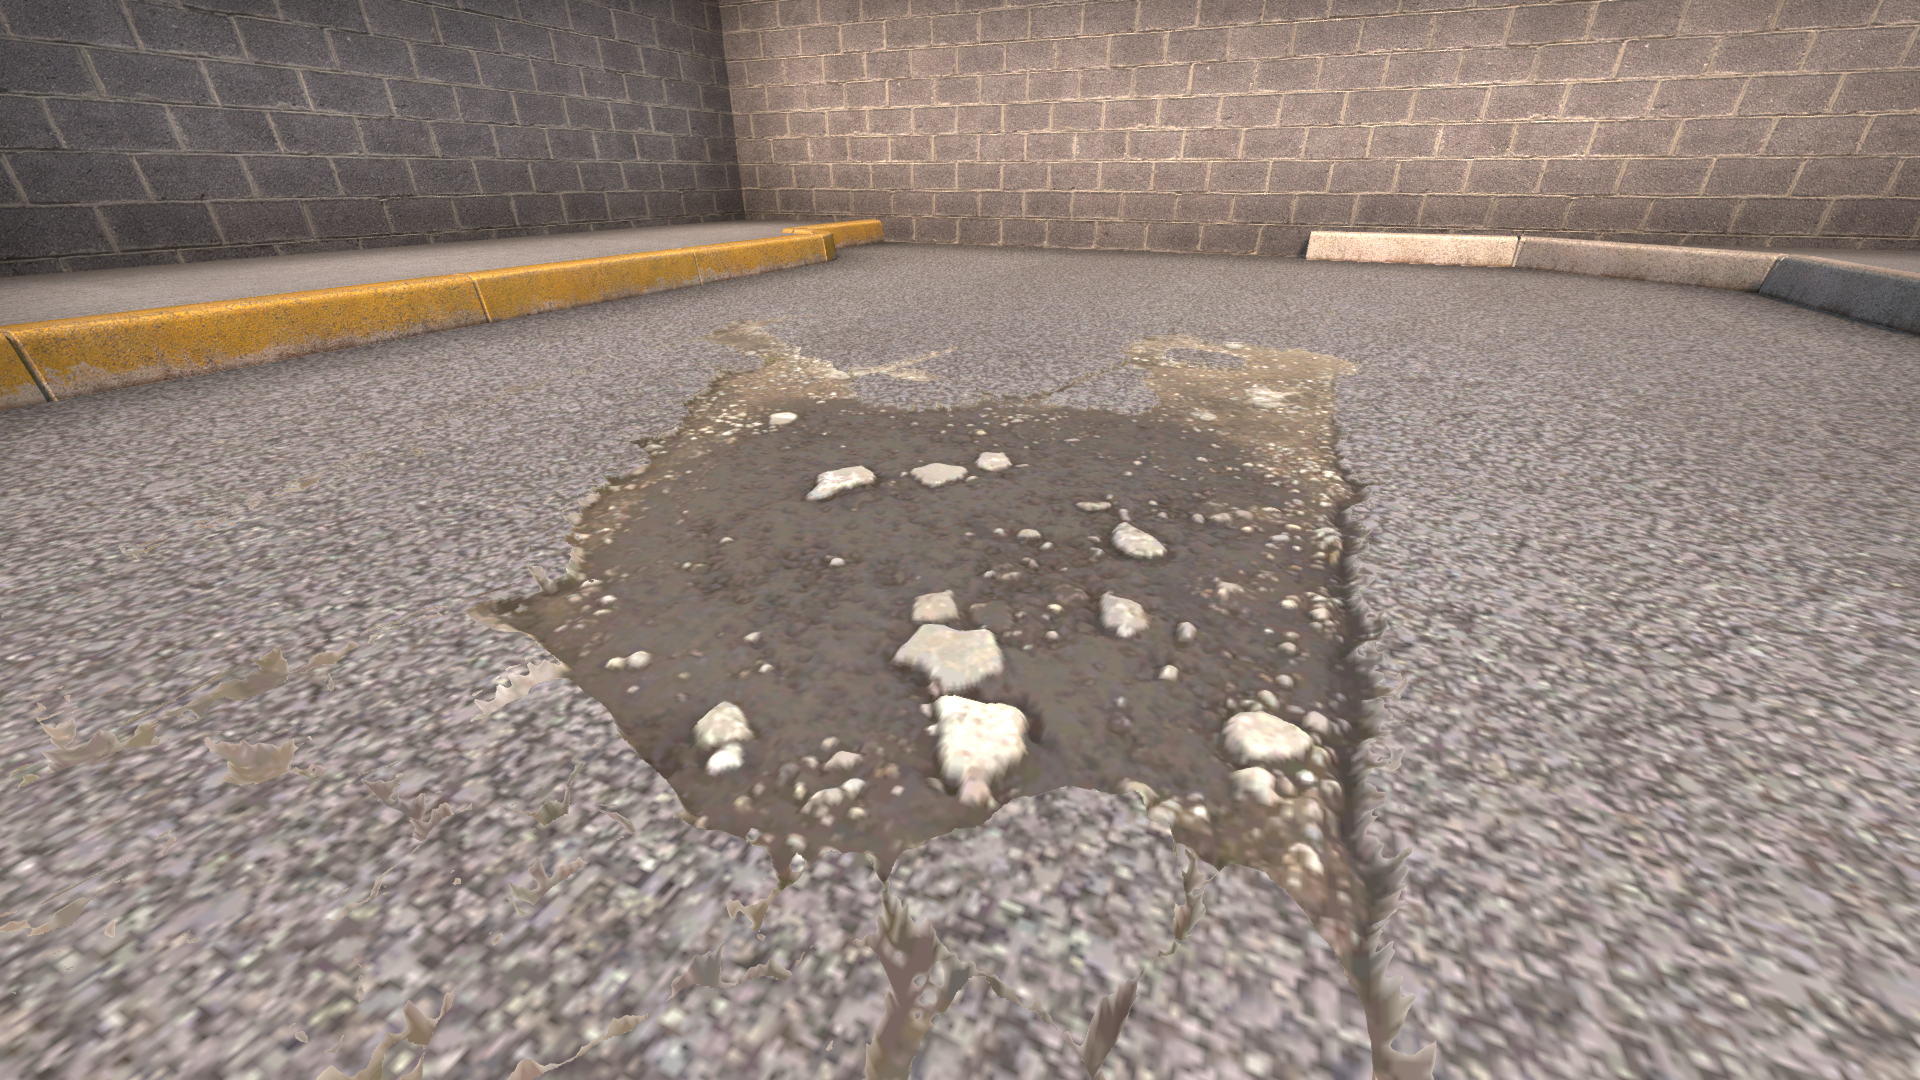
A variety of special effects had been implemented for certain surfaces like glass. One thing is frosted glass effect.
One more effect that is also done is soft edges for materials, this allows certain usage of the shader like a water material, be plausible on a non-water shader.
I revisited the velocity buffer and wrote the first implementation that depends on it: a Motion Blur effect. This effect depends on the velocity+direction of the object respective to the screen to determine the blur intensity and direction.
On the video, the lower right G-Buffer is the screenspace velocity information that is used to determine velocities of objects on the scene and apply appropriate motion blur on it.
This per-object motion blur effect also works on a per-bone basis, so it appropriately blurs certain parts of the NPC when it is in motion, like shown on this video.
Ending Thoughts
That covers most of the new rendering features that are implemented on the game alongside the D3D11 port. It is a huge undertaking to have done this but i think it is worth it, even just for the stuff i learned along the way.
You can read the next part of this series here.